
How To Create a Plastic Drainage Channel
Installing a plastic drainage channel is a simple and effective way to control surface water around driveways, patios, and paved areas. It helps prevent pooling, reduces flood risk, and protects surrounding structures from water damage. Below, we’ll cover the tools you’ll need and the step-by-step installation process, followed by our recommended products to help you achieve a strong, long-lasting finish.
Tools you’ll need
- 12.5mm shim
- Cement mixer
- Float
- Trowel
- Hammer
- Measuring tape
- Wooden pegs
- Nails
- 1m straightedge
Step 1: Set out and lay the base
Start by marking your drainage line so it runs at a right angle to the slope of your paving, with a gentle fall of 1:80 to allow water to flow properly. Use a 1m straightedge with a 12.5mm shim to help you keep the correct gradient. Dig out a channel about 100mm deep along the edge of your patio, then fill the base with concrete. Carefully place your first drainage channel section onto the wet concrete.
Step 2: Connect and continue the run
Apply waterproof sealant into the connecting recess at the end of each channel section before joining the next piece. Continue laying each section along the run, making sure you regularly check the fall remains consistent. If needed, cut sections to size using a suitable saw for a clean fit.
Step 3: Finish and secure
Once all sections are in place, build up concrete along the outside edges of the channel, sloping it away to encourage water runoff. Fill the joint between the channel and paving with dry mortar for a neat, secure finish. Finally, fit the metal grating on top to complete the installation.
Disclaimer: This guide is provided for general information purposes only. Buildland accepts no responsibility for any injury, loss or damage resulting from the use of this information. Always follow relevant manufacturer instructions, building regulations and health and safety guidelines. All work is carried out at your own risk.
Product Recommendations
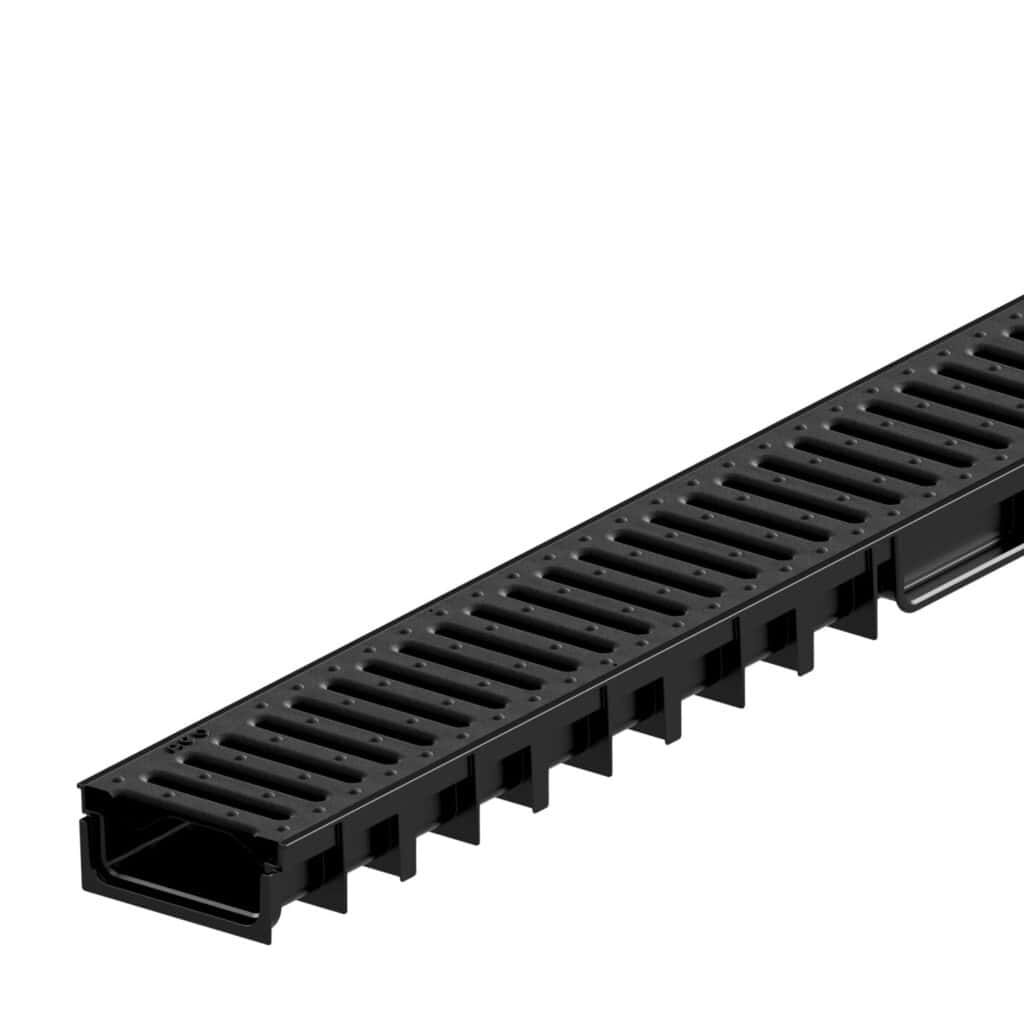
Aco 50mm Thinline Channel With Plastic Grid 1m
£7.45 ex. VAT
£8.94 inc. VAT
View ProductAdd To Basket
Rollycarri Cement Mixer With Mixer Stand
£345.00 - 435.00 ex. VAT
£414.00 - £522.00 inc. VAT
View ProductAdd To Basket
Sharp Sand Poly Bag
£2.25 ex. VAT
£2.70 inc. VAT
View ProductAdd To Basket
MOT Type 1 Poly Bag
£2.25 ex. VAT
£2.70 inc. VAT
View ProductAdd To Basket
Cement Moisture Resistant Plastic Bag 25kg
£5.95 ex. VAT
£7.14 inc. VAT
View ProductAdd To Basket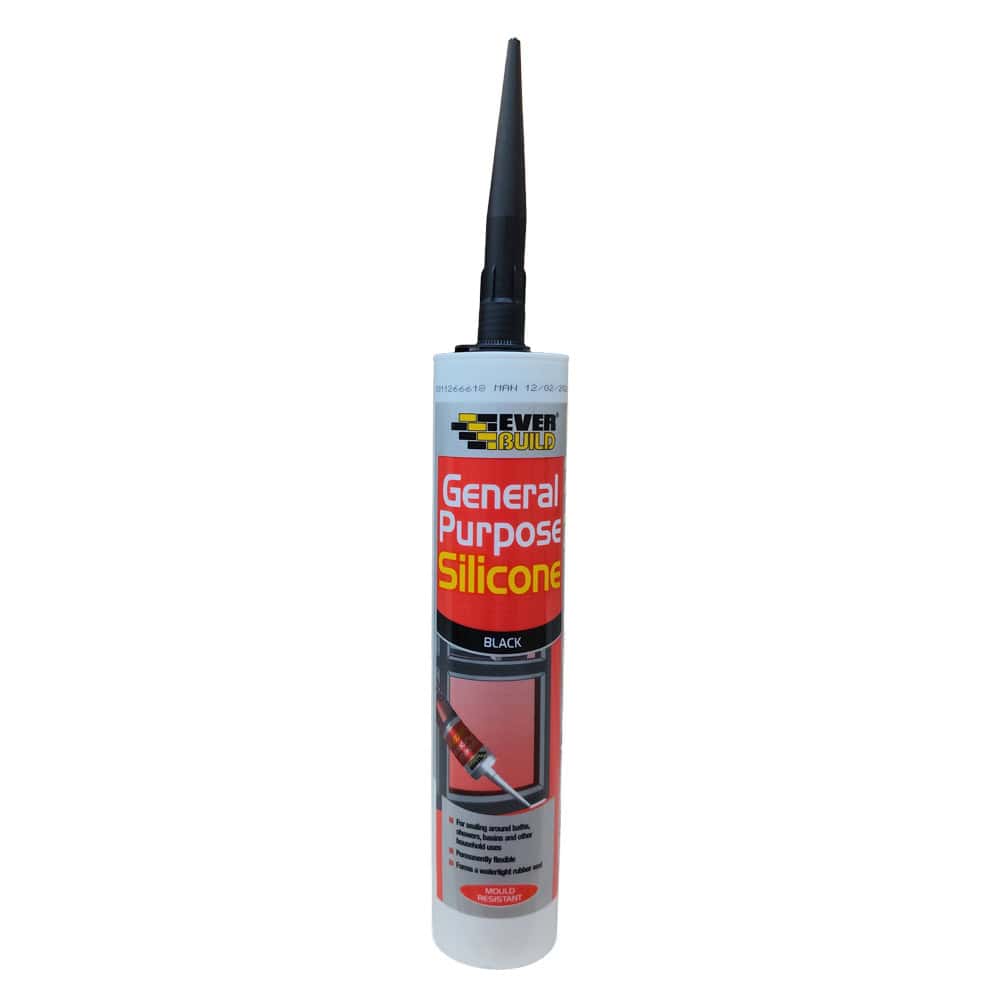
Everbuild General Purpose Silicone Black 260ml
£2.73 ex. VAT
£3.28 inc. VAT
View ProductAdd To Basket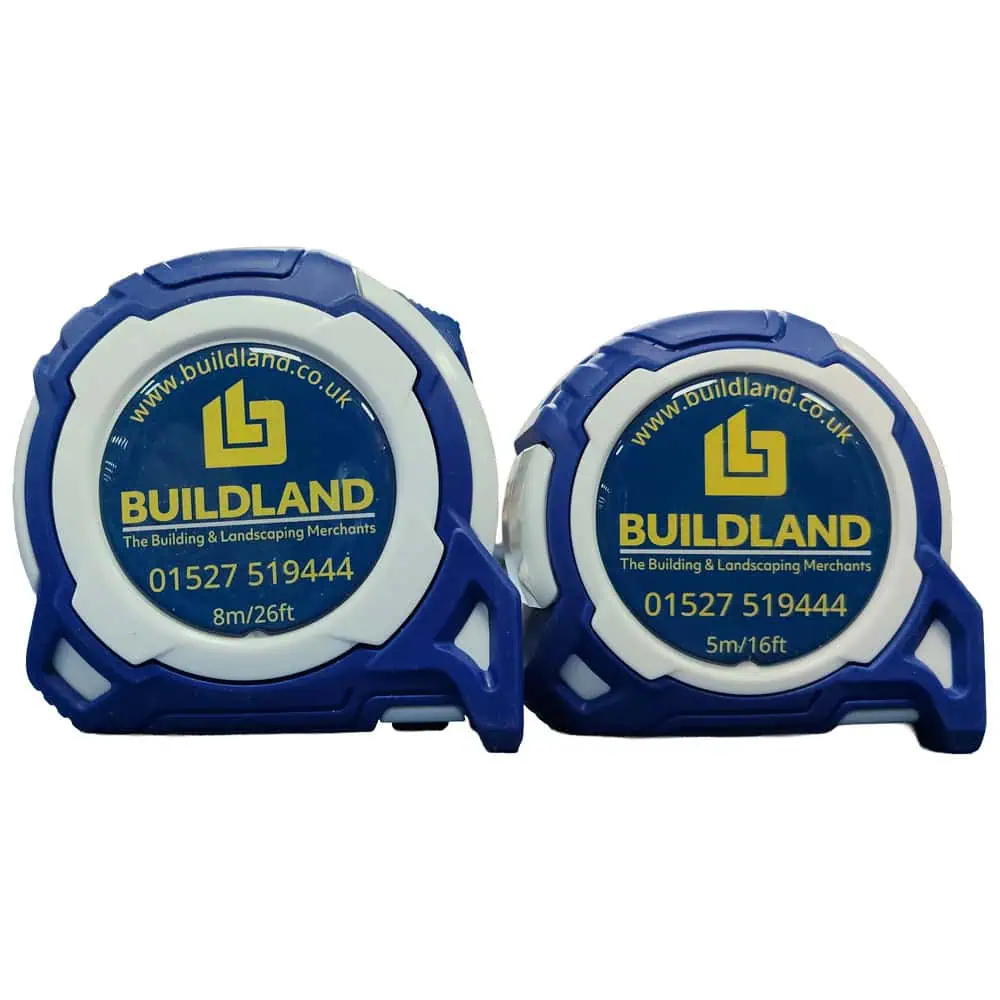
Buildland Komelon Tape Measure 5m & 8m
£4.83 - 6.72 ex. VAT
£5.80 - £8.06 inc. VAT
View ProductAdd To Basket
Aco 50mm Thinline Channel With Plastic Grid 1m
£7.45 ex. VAT
£8.94 inc. VAT
View ProductAdd To BasketRollycarri Cement Mixer With Mixer Stand
£345.00 - £435.00 ex. VAT
£414.00 - £522.00 inc. VAT
View ProductAdd To BasketSharp Sand Poly Bag
£2.25 ex. VAT
£2.70 inc. VAT
View ProductAdd To BasketMOT Type 1 Poly Bag
£2.25 ex. VAT
£2.70 inc. VAT
View ProductAdd To BasketCement Moisture Resistant Plastic Bag 25kg
£5.95 ex. VAT
£7.14 inc. VAT
View ProductAdd To BasketEverbuild General Purpose Silicone Black 260ml
£2.73 ex. VAT
£3.28 inc. VAT
View ProductAdd To BasketBuildland Komelon Tape Measure 5m & 8m
£4.83 - £6.72 ex. VAT
£5.80 - £8.06 inc. VAT
View ProductAdd To Basket