
How To Insulate Your Loft
Proper loft insulation is one of the simplest and most cost-effective ways to improve your home’s energy efficiency. By reducing heat loss through the roof, you can help keep your home warmer in winter, cooler in summer and lower your heating costs. Follow our step-by-step guide below, and don’t forget to browse our recommended products at the end of this article to help complete your project.
Tools & Materials You’ll Need
- Loft insulation rolls
- Protective gloves
- Dust mask
- Safety goggles
- Tape measure
- Utility or craft knife
- Loft light or work light
- Knee pads
- Crawl boards
- String (for insulating water tanks)
Step 1: Calculate How Much Insulation You Need
Before purchasing insulation, measure your existing loft insulation to work out how much additional insulation is required.
The recommended minimum depth for loft insulation is 270mm. Increasing your insulation to this level can significantly improve your home’s energy efficiency and help reduce heating costs.
Measure the Existing Insulation
Measure the current depth of insulation between the joists.
Subtract this measurement from 270mm to determine how much additional insulation you’ll need.
Measure Your Loft Area
Measure the length and width of your loft.
Loft Area = Length × Width
This will help you calculate how many insulation rolls are required.
Measure the Joist Spacing
If the insulation currently sits level with the joists, you can move on to the next step.
If not, measure the gap between the joists to ensure you purchase insulation rolls of the correct width. Most joist spacing is between 400mm and 600mm.
Safety First
Before entering your loft:
- Use crawl boards to spread your weight and avoid damaging the ceiling.
- Wear gloves, eye protection and a dust mask.
- Ensure the loft is well lit.
- Lay electrical cables over the insulation, not underneath.
- Leave at least 75mm clearance around recessed light fittings or other heat sources, unless they are specifically designed to be covered by insulation.
- Maintain ventilation around the eaves to help prevent condensation.
Step 2: Insulate the Cold Water Tank
Before insulating the loft floor, insulate any cold water storage tanks.
Wrapping the tank helps reduce the risk of freezing once the surrounding loft becomes colder due to improved insulation.
Wrap the insulation around the sides of the tank and secure it using string.
Important: Do not insulate underneath the tank, as it should continue to benefit from warmth rising from the rooms below.
Step 3: Lay the Loft Insulation
Clear the loft space before starting.
Beginning at the point furthest from the loft hatch, unroll the insulation between the joists.
If insulation is already installed between the joists:
- Top it up so it reaches the height of the joists.
- Lay a second layer across the joists to achieve the recommended 270mm total depth.
Gently position the insulation into place without compressing it. Squashing insulation reduces its effectiveness.
When one roll ends, butt the next roll tightly against it, ensuring there are no gaps.
Continue across the loft, leaving ventilation space around the eaves.
Finally, insulate the loft hatch by cutting a piece of insulation to size and fixing it to the back of the hatch.
Step 4: Create Loft Storage
If you need storage space, install raised loft boarding rather than compressing the insulation.
Build a small storage platform near the loft hatch using loft legs and loft panels where possible.
Keep boarded areas to a minimum to maximise the thermal performance of the insulation.
Disclaimer: This guide is provided for general information purposes only. Buildland accepts no responsibility for any injury, loss or damage resulting from the use of this information. Always follow relevant manufacturer instructions, building regulations and health and safety guidelines. All work is carried out at your own risk.
Product Recommendations
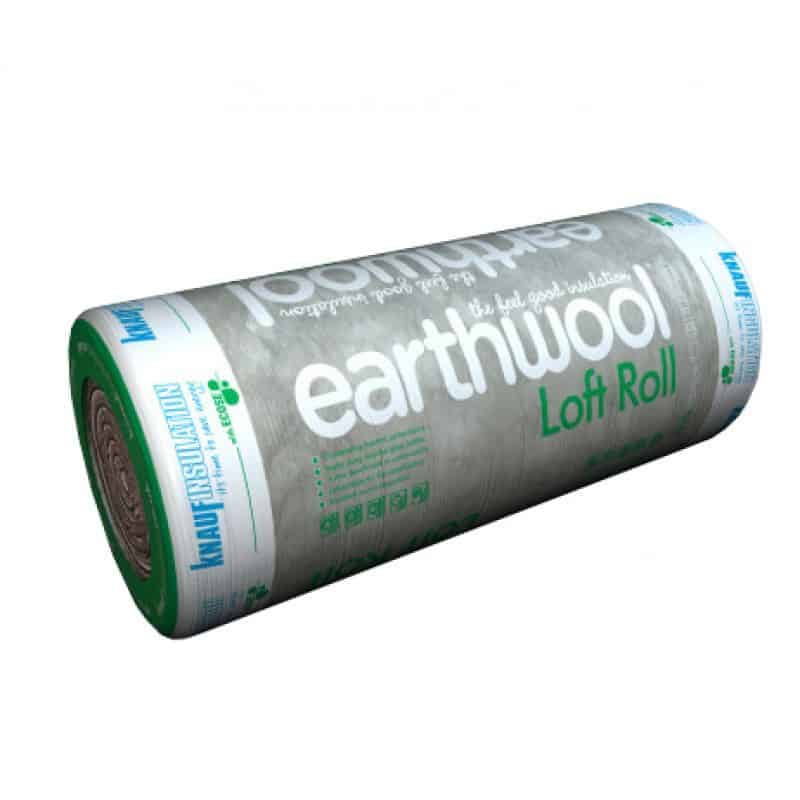
Loft Insulation (Each)
£42.95 - 43.95 ex. VAT
£51.54 - £52.74 inc. VAT
View ProductAdd To Basket
Pred Amber Grip Safety Gloves
£0.83 - 0.83 ex. VAT
£1.00 - £1.00 inc. VAT
View ProductAdd To Basket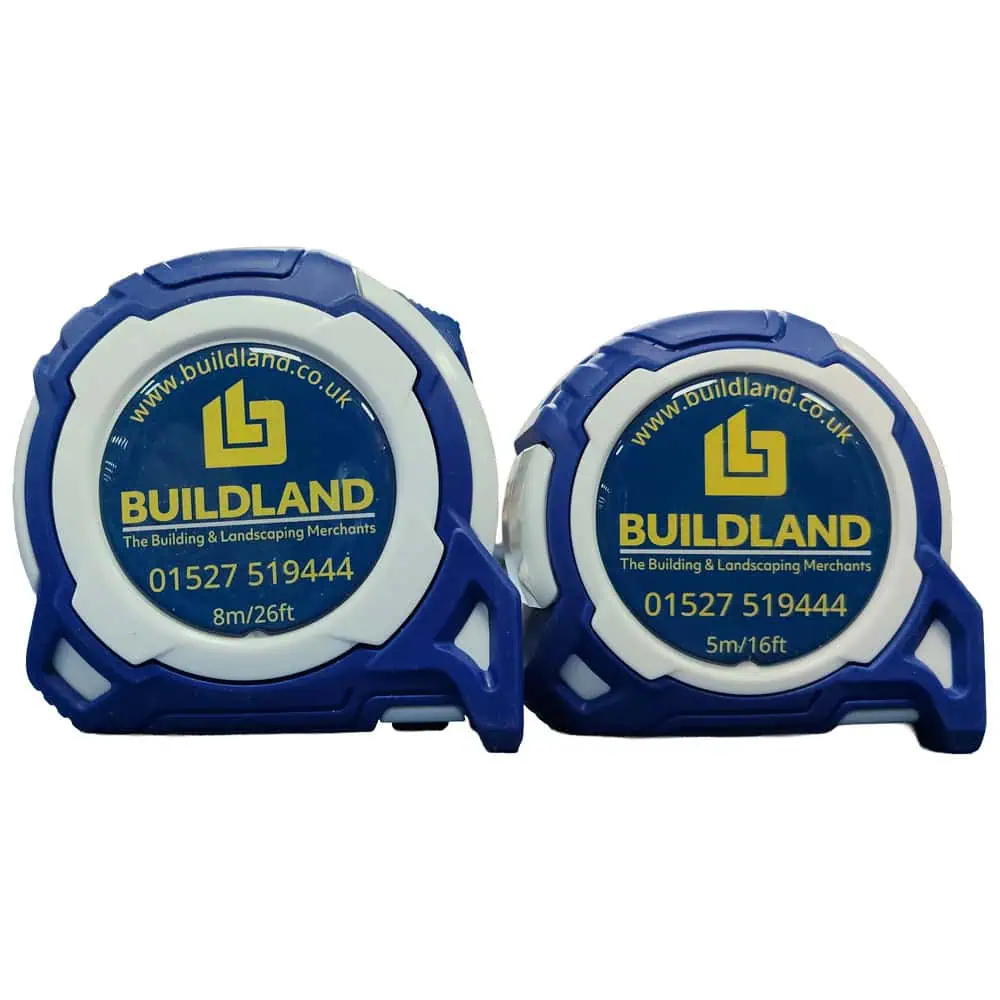
Buildland Komelon Tape Measure 5m & 8m
£4.83 - 6.72 ex. VAT
£5.80 - £8.06 inc. VAT
View ProductAdd To Basket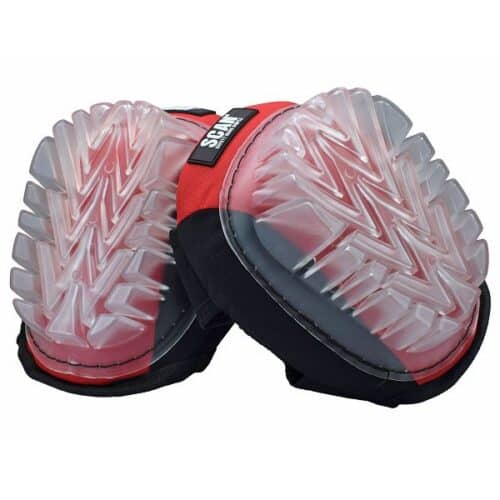
Scan Gel Knee Pads
£19.49 ex. VAT
£23.39 inc. VAT
View ProductAdd To Basket
Loft Insulation (Each)
£42.95 - £43.95 ex. VAT
£51.54 - £52.74 inc. VAT
View ProductAdd To BasketPred Amber Grip Safety Gloves
£0.83 - £0.83 ex. VAT
£1.00 - £1.00 inc. VAT
View ProductAdd To BasketBuildland Komelon Tape Measure 5m & 8m
£4.83 - £6.72 ex. VAT
£5.80 - £8.06 inc. VAT
View ProductAdd To BasketScan Gel Knee Pads
£19.49 ex. VAT
£23.39 inc. VAT
View ProductAdd To Basket