
How To Install a Garden Fence
Installing a new fence is a great way to improve privacy, security and the appearance of your garden. With the right preparation and materials, you can build a strong, durable fence that will last for years. Follow our simple step-by-step guide below, and don’t forget to browse our recommended products at the end of this article to help complete your project.
Tools & Materials You’ll Need
- Fence panels
- Fence posts
- Fence post supports
- Gravel boards
- Spirit level
- Tape measure
- String line
- Wooden pegs
- Claw hammer
- Sledgehammer
- Spade
- Post mix concrete
- Drill and screwdriver
- U-shaped fence panel clips
- Stainless steel screws
- Wood preservative
- Post caps (for timber posts)
Step 1: Choose the Right Fence
Before you start, decide which style of fencing best suits your property and your needs.
Closeboard Fencing: A strong, durable fence made from overlapping vertical boards. Ideal for privacy and boundary fencing.
Overlap Fencing: Constructed from overlapping horizontal boards, this is a cost-effective option that still provides good privacy.
Picket Fencing: Perfect for defining garden borders while maintaining an open view.
Palisade Fencing: Offers increased visibility while providing a traditional and secure boundary.
Trellis Panels: Ideal as decorative screening or as an attractive addition above solid fencing panels.
Top Tip: Before replacing a boundary fence, check your property deeds or Land Registry plans to confirm ownership and maintenance responsibilities.
Step 2: Choose Your Fence Posts
You’ll need to decide whether to install timber or concrete fence posts.
Timber Posts
- Easier to install and handle.
- Create a natural appearance.
- Should be treated to help prevent rot.
Concrete Posts
- Extremely strong and long-lasting.
- Require more effort to install.
- Resistant to rot and insect damage.
Alternatively, you can use metal post supports or post spikes, which provide a quicker installation without burying timber directly into the ground.
Step 3: Calculate Post Lengths
The length of your fence posts depends on the height of the fence and your installation method.
For example:
- A 1.8m (6ft) fence with posts concreted into the ground requires posts approximately 2.4m (8ft) long.
- If using post spikes or bolt-down post supports, choose posts the same height as the fence.
Always follow the fence manufacturer’s recommendations where applicable.
Step 4: Calculate Materials
Most fence panels measure 1.8m (6ft) wide.
Measure the total length of your fence line and divide by the panel width to calculate the number of panels required.
You’ll also need:
- One gravel board per panel.
- One more fence post than the total number of panels.
For example:
A 10.8m fence requires:
- 6 fence panels
- 6 gravel boards
- 7 fence posts
Step 5: Prepare the Area
Clear away any plants, weeds or obstacles from the fence line.
Treat the area with weed killer if required, and apply wood preservative to any freshly cut ends of timber posts.
Use wooden pegs and a string line to accurately mark the position of your fence and the location of the first post.
Step 6: Installing Posts with Post Spikes
Before driving post spikes into the ground, check for any underground services such as water pipes or electrical cables.
Create a pilot hole using a metal bar before driving the spike into the ground with a sledgehammer.
Place a piece of timber inside the spike while hammering to protect it from damage.
Regularly check the spike remains perfectly vertical using a spirit level.
As a guide:
- 600mm spikes are suitable for fences up to approximately 1.2m (4ft) high.
- 750mm spikes are recommended for taller fences.
Step 7: Installing Posts in Concrete
Dig each post hole approximately three times wider than the post and around 600mm (2ft) deep.
Place the first post into the hole and use broken brick or hardcore beneath it if minor height adjustments are needed.
Fill the hole using post mix concrete, following the manufacturer’s instructions.
Slope the concrete away from the post to encourage rainwater to drain away.
Use a spirit level to ensure the post is vertical, then support it with temporary timber braces while the concrete sets.
Continue along the fence line, checking every post remains aligned before leaving the concrete to cure for at least one hour.
Step 8: Fit the Fence Panels
To help prevent rot, keep fence panels off the ground by installing treated gravel boards or leaving approximately 100mm clearance beneath each panel.
Secure each panel to the posts using 2–3 U-shaped fence clips on each side with stainless steel screws.
If using timber posts, trim the tops to the same height before fitting decorative post caps.
Step 9: Installing a Fence on a Slope
If your fence runs across sloping ground, keep each fence panel level rather than following the slope.
Fill the gap beneath each panel using cut gravel boards or build a low retaining wall where required.
This stepped approach creates a much neater and more professional-looking finish.
Disclaimer: This guide is provided for general information purposes only. Buildland accepts no responsibility for any injury, loss or damage resulting from the use of this information. Always follow relevant manufacturer instructions, building regulations and health and safety guidelines. All work is carried out at your own risk.
Product Recommendations
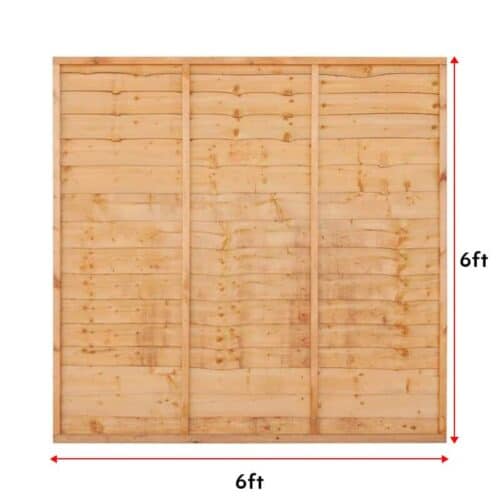
Superior Fence Panels 6 Ft x 6 Ft
£32.95 ex. VAT
£39.54 inc. VAT
View ProductAdd To Basket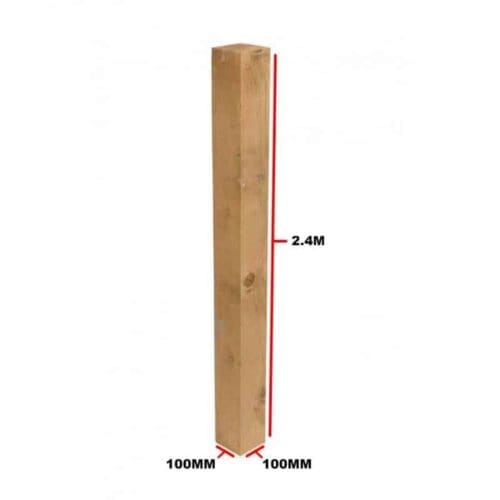
Wooden Posts Brown 100mm x 100mm x 2400mm
£11.50 ex. VAT
£13.80 inc. VAT
View ProductAdd To Basket
Hanson Post Mix Concrete Poly Bag 20kg
£5.79 ex. VAT
£6.95 inc. VAT
View ProductAdd To Basket
Buildland Komelon Tape Measure 5m & 8m
£4.83 - 6.72 ex. VAT
£5.80 - £8.06 inc. VAT
View ProductAdd To Basket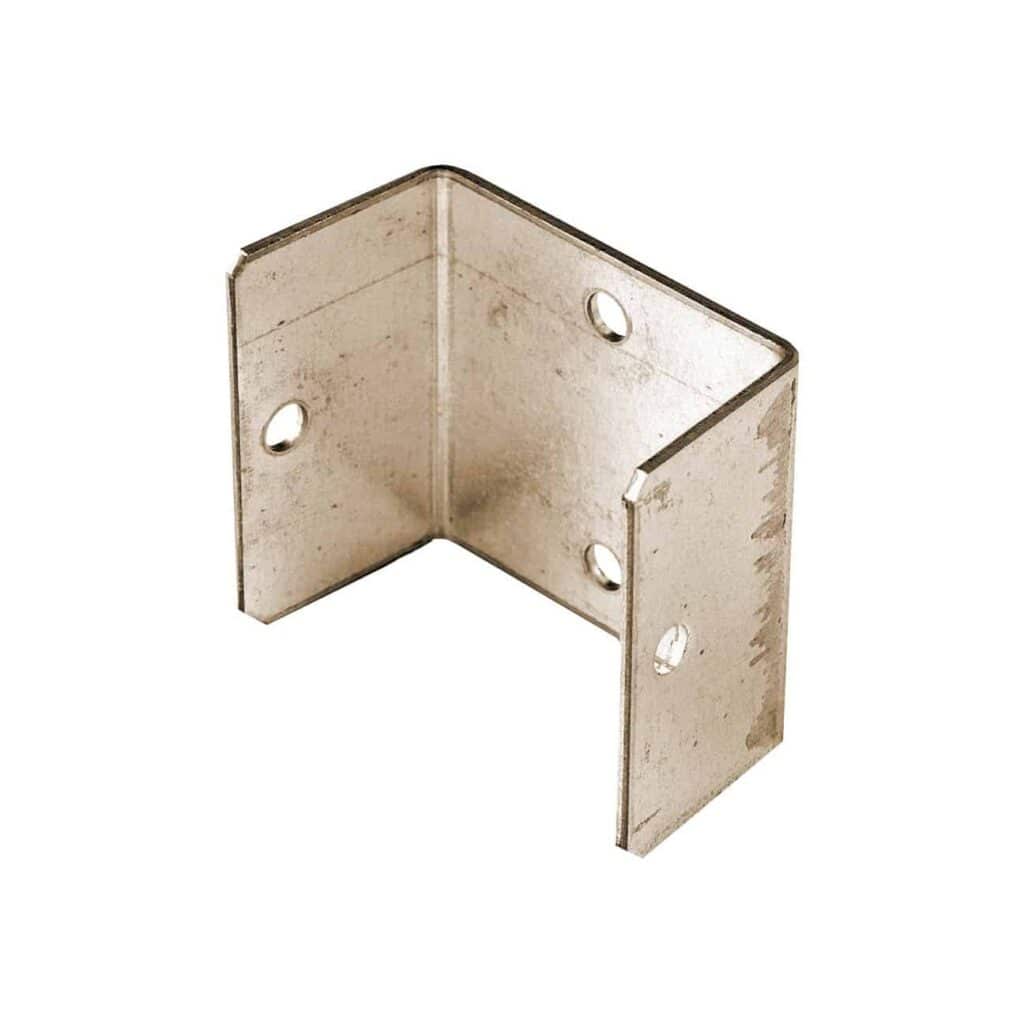
Fence Panel Clip
£0.44 ex. VAT
£0.53 inc. VAT
View ProductAdd To Basket
Superior Fence Panels 6 Ft x 6 Ft
£32.95 ex. VAT
£39.54 inc. VAT
View ProductAdd To BasketWooden Posts Brown 100mm x 100mm x 2400mm
£11.50 ex. VAT
£13.80 inc. VAT
View ProductAdd To BasketHanson Post Mix Concrete Poly Bag 20kg
£5.79 ex. VAT
£6.95 inc. VAT
View ProductAdd To BasketBuildland Komelon Tape Measure 5m & 8m
£4.83 - £6.72 ex. VAT
£5.80 - £8.06 inc. VAT
View ProductAdd To BasketFence Panel Clip
£0.44 ex. VAT
£0.53 inc. VAT
View ProductAdd To Basket