
How To Lay Driveway Paving
A well-laid driveway not only improves the appearance of your home but also provides a durable surface that can withstand everyday vehicle traffic. Proper preparation is the key to preventing movement, sinking and drainage problems. Follow our step-by-step guide below, and don’t forget to browse our recommended products at the end of this article to help complete your project.
Tools & Materials You’ll Need
- Driveway paving slabs
- MOT Type 1
- Sharp sand
- Cement
- Plate compactor (wacker plate)
- Spirit level
- Tape measure
- String line
- Wooden pegs
- Shovel
- Wheelbarrow
- Rubber mallet
- Trowel
- Jointing compound
Step 1: Prepare the Base
Driveways experience much heavier loads than patios, so a strong foundation is essential.
Lay a compacted 150mm layer of MOT Type 1 hardcore across the entire driveway area. This provides the strength needed to support vehicle traffic and helps prevent future sinking or movement.
For areas with lighter foot traffic, a 75mm compacted sub-base is generally sufficient.
Using a plate compactor (wacker plate) is highly recommended to achieve a firm, stable base before continuing.
Step 2: Set Out the Driveway
Mark out the driveway using wooden pegs and a string line.
Position the pegs so they represent the finished height of the paving. Creating a grid of string lines across the area makes it easier to maintain accurate levels during installation.
If the driveway meets your property, ensure the finished paving level remains at least 150mm below the damp proof course (DPC) to prevent damp problems.
Step 3: Create the Correct Fall
A slight slope is essential to allow rainwater to drain away from the property.
As a guide, create a fall of approximately 1:60 away from buildings or towards suitable drainage points.
Use a spirit level and string lines throughout the installation to regularly check that the correct gradient is maintained.
Taking time to set the fall correctly will help prevent standing water on the finished driveway.
Step 4: Lay the Bedding Layer
Once the hardcore has been fully compacted, spread a full bed of mortar using approximately:
- 4 Parts Sharp Sand
- 1 Part Cement
Lay only enough mortar for a few paving slabs at a time to prevent it from drying before installation.
The mortar should be firm and workable rather than overly wet.
Step 5: Lay the Paving
Start laying the paving from one corner, placing each slab carefully onto the mortar bed. Use a rubber mallet to gently tap each slab into position while checking the level with a spirit level.
Leave consistent joints between each slab and regularly check the alignment using a straightedge or string line.
Continue laying the paving across the driveway, checking both the level and drainage fall as you work.
Once complete, allow the mortar to cure before applying the appropriate jointing compound or jointing material.
Disclaimer: This guide is provided for general information purposes only. Buildland accepts no responsibility for any injury, loss or damage resulting from the use of this information. Always follow relevant manufacturer instructions, building regulations and health and safety guidelines. All work is carried out at your own risk.
Product Recommendations
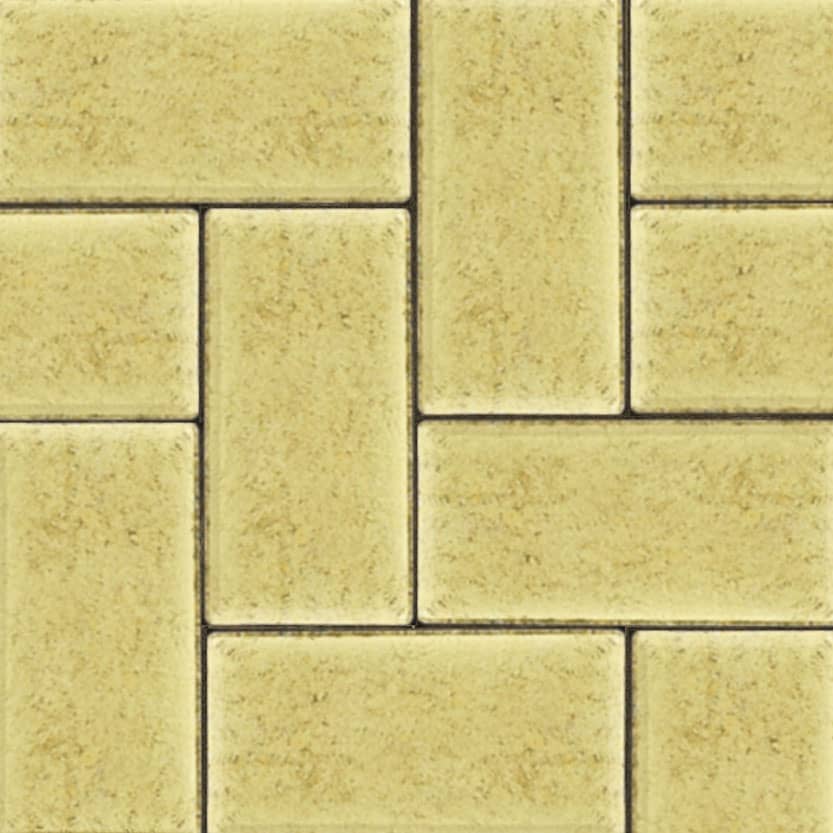
50mm Barley Paver Buff
£0.30 - 143.52 ex. VAT
£0.36 - £172.22 inc. VAT
View ProductAdd To Basket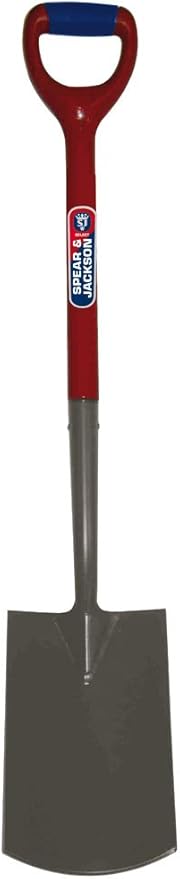
Spears & Jackson Select Digging Spade
£16.37 ex. VAT
£19.64 inc. VAT
View ProductAdd To Basket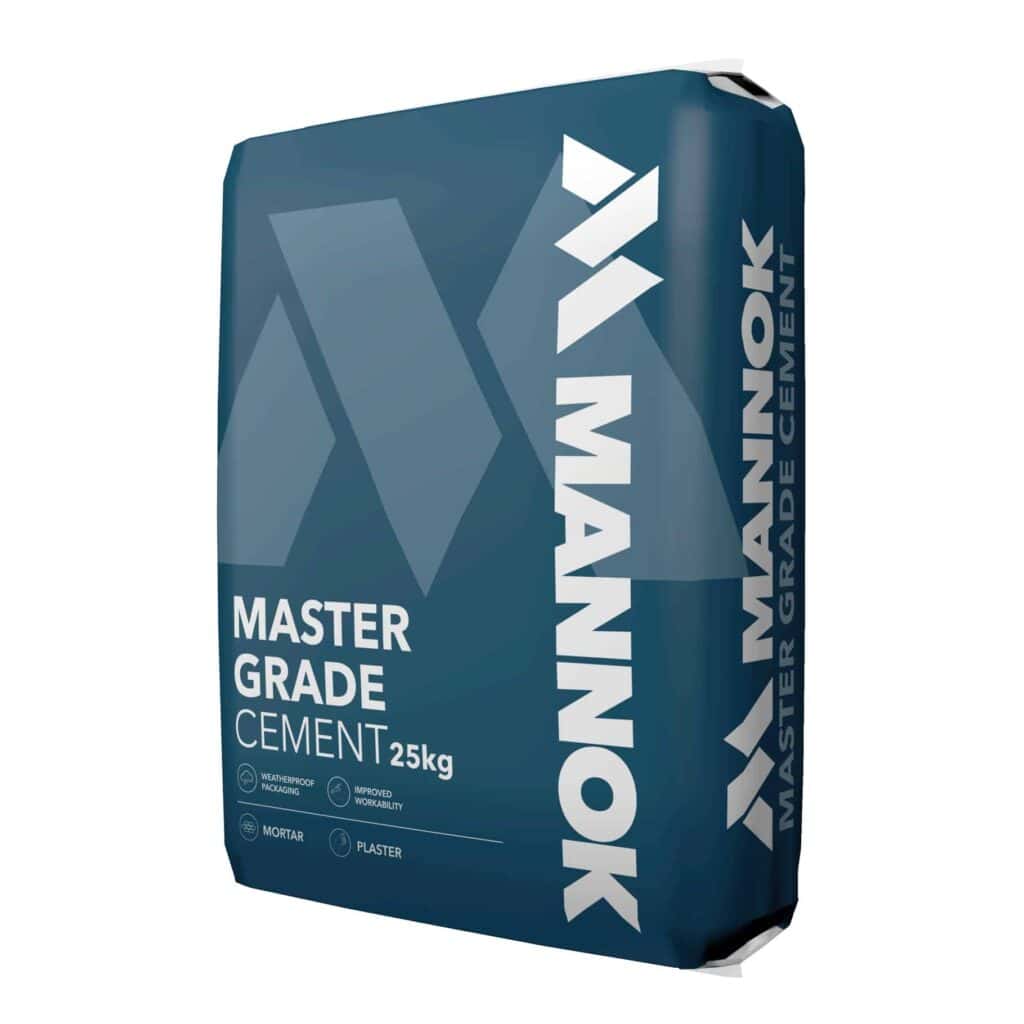
Cement Moisture Resistant Plastic Bag 25kg
£5.95 ex. VAT
£7.14 inc. VAT
View ProductAdd To Basket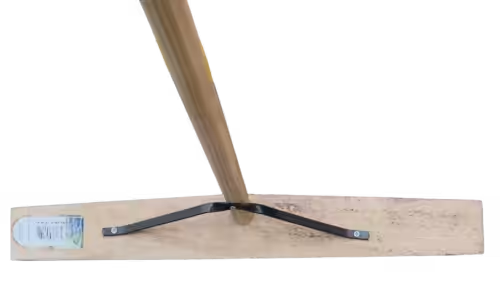
Wooden Screed Spazzle
£23.93 ex. VAT
£28.72 inc. VAT
View ProductAdd To Basket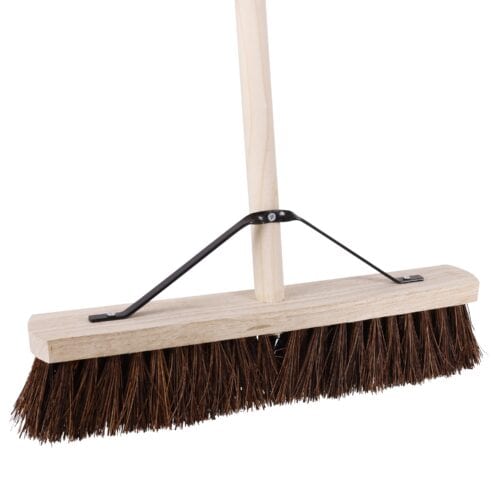
Bassine Hard Bristle Broom 18 Inch
£9.77 ex. VAT
£11.72 inc. VAT
View ProductAdd To Basket
50mm Barley Paver Buff
£0.30 - £143.52 ex. VAT
£0.36 - £172.22 inc. VAT
View ProductAdd To BasketSpears & Jackson Select Digging Spade
£16.37 ex. VAT
£19.64 inc. VAT
View ProductAdd To BasketCement Moisture Resistant Plastic Bag 25kg
£5.95 ex. VAT
£7.14 inc. VAT
View ProductAdd To BasketWooden Screed Spazzle
£23.93 ex. VAT
£28.72 inc. VAT
View ProductAdd To BasketBassine Hard Bristle Broom 18 Inch
£9.77 ex. VAT
£11.72 inc. VAT
View ProductAdd To Basket