
How To Lay Natural Stone Paving
Natural stone paving is a timeless choice that adds character, durability and value to any outdoor space. Whether you’re creating a new patio or garden path, careful preparation and the correct installation methods are essential for a professional finish. Follow our step-by-step guide below, and don’t forget to browse our recommended products at the end of this article to help complete your project.
Tools & Materials You’ll Need
Safety Equipment
Installation Tools
- Slate marker
- Spade
- Pointing tool
- Trowel
- Rubber mallet
- Soft broom
- Plate compactor
- Tape measure
- Wooden pegs and string line
- Spirit level
- Hammer
- Chisel
- Tile cutter or bench saw
Materials
- Natural stone paving
- MOT Type 1
- Sharp sand
- Cement
- SBR bonding agent
- Slurry primer
- Jointing compound
Important: Buildland natural stone paving is designed for domestic landscaping applications. It is not suitable for driveways unless specifically stated by the manufacturer. Always follow the correct installation guidelines for vehicle-use areas.
Step 1: Check Your Paving
Before installation, inspect every paving slab carefully.
Natural stone is a naturally occurring product, meaning variations in colour, texture and size are to be expected. Lay out a selection of slabs before installation to ensure you’re happy with the blend and overall appearance.
Once paving has been installed, it cannot usually be returned.
Before starting work:
- Clear the area of weeds, grass and debris.
- Mark out the project using wooden pegs and a string line.
- Use a scale drawing if possible to help plan the layout.
Top Tip: Mix slabs from different packs throughout the project to create a more natural-looking finish.
Step 2: Prepare the Base
Excavate the area to approximately:
- 150mm below finished patio level, or
- 200mm below finished driveway level (where suitable products are being used).
Ensure the ground beneath is firm and well compacted before continuing.
Step 3: Install the Hardcore
Spread a layer of MOT Type 1 hardcore across the excavated area.
Recommended depths are:
- 100mm for patios
- 150mm for driveways
Remember to allow space for:
- 30–50mm mortar bed
- The thickness of the paving slabs
Compact the hardcore thoroughly using a plate compactor to create a stable foundation.
Do not lay paving onto waterlogged ground. If drainage is poor, install suitable drainage before continuing.
Step 4: Lay the Paving
Using your string lines as a guide, begin laying the paving on a full mortar bed approximately 30–50mm thick.
We recommend a mortar mix of:
- 1 Part Cement
- 5 Parts Sharp Sand
(Some installers prefer a 50:50 blend of building sand and sharp sand.)
Every natural stone slab should be fully supported by mortar. Spot bedding should never be used, as it can lead to movement, cracking and moisture staining.
Step 5: Prime the Slabs
Before laying each slab, apply a slurry primer to the entire underside.
A slurry primer can be made using:
- Cement powder
- Water
- Outdoor-grade SBR bonding agent
Alternatively, use a ready-mixed slurry primer.
Apply the primer approximately 1–2mm thick immediately before laying the slab while the primer is still wet.
This improves adhesion between the paving and mortar bed while helping reduce moisture movement through the stone.
Step 6: Position and Level the Slabs
Carefully place each slab onto the mortar bed and gently tap it into position using a rubber mallet.
Regularly check:
- Levels with a spirit level.
- Joint widths.
- Alignment using string lines.
Continue laying one slab at a time until the area is complete.
Step 7: Joint the Paving
Once the mortar bed has fully cured, fill the joints using a suitable paving jointing compound.
Brush the compound firmly into the joints and remove any excess from the surface following the manufacturer’s instructions.
Disclaimer: This guide is provided for general information purposes only. Buildland accepts no responsibility for any injury, loss or damage resulting from the use of this information. Always follow relevant manufacturer instructions, building regulations and health and safety guidelines. All work is carried out at your own risk.
Product Recommendations
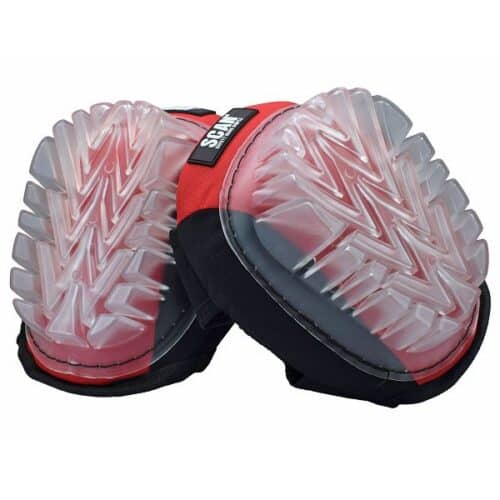
Scan Gel Knee Pads
£19.49 ex. VAT
£23.39 inc. VAT
View ProductAdd To Basket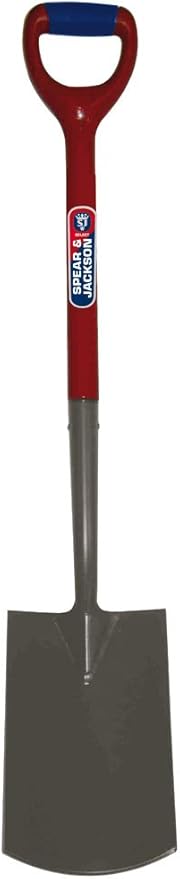
Spears & Jackson Select Digging Spade
£16.37 ex. VAT
£19.64 inc. VAT
View ProductAdd To Basket
Coco Soft Bristle Broom 18 Inch
£9.17 ex. VAT
£11.00 inc. VAT
View ProductAdd To Basket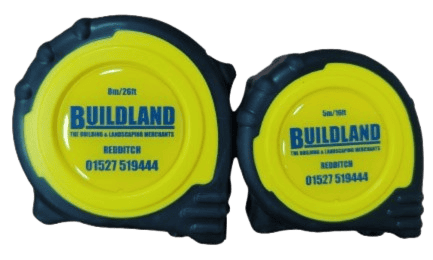
Buildland 5m & 8m Tape Measure
£4.16 - 6.21 ex. VAT
£4.99 - £7.45 inc. VAT
View ProductAdd To Basket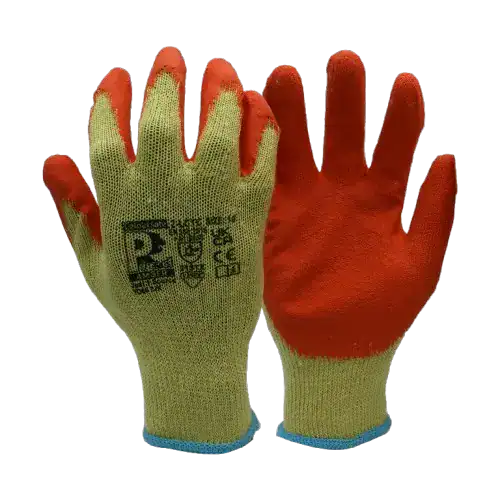
Pred Amber Grip Safety Gloves
£0.83 - 0.83 ex. VAT
£1.00 - £1.00 inc. VAT
View ProductAdd To Basket
Scan Gel Knee Pads
£19.49 ex. VAT
£23.39 inc. VAT
View ProductAdd To BasketSpears & Jackson Select Digging Spade
£16.37 ex. VAT
£19.64 inc. VAT
View ProductAdd To BasketCoco Soft Bristle Broom 18 Inch
£9.17 ex. VAT
£11.00 inc. VAT
View ProductAdd To BasketBuildland 5m & 8m Tape Measure
£4.16 - £6.21 ex. VAT
£4.99 - £7.45 inc. VAT
View ProductAdd To BasketPred Amber Grip Safety Gloves
£0.83 - £0.83 ex. VAT
£1.00 - £1.00 inc. VAT
View ProductAdd To Basket