
How To Install a Recessed Manhole Cover
A recessed manhole cover allows you to hide access covers beneath paving, creating a clean and uninterrupted finish across your patio or pathway. With careful installation, the cover remains fully accessible while blending in with the surrounding paving. Follow our simple step-by-step guide below, and don’t forget to browse our recommended products at the end of this article.
Tools & Materials You’ll Need
- Manhole cover
- Chisel
- Hammer
- Rubber mallet
- Power saw or disc cutter
- Trowel
- Mortar
- Masking tape
- Tape measure
- Protective gloves
Step 1: Choose the Correct Manhole Cover
If you’re installing a concrete driveway or path, use a skeleton manhole cover, which is designed to be filled with reinforced concrete.
For patios and paved areas, a recessed manhole cover is typically the preferred option, allowing paving slabs or block paving to be installed inside the tray for a concealed finish.
Step 2: Install the Frame
Bed the manhole cover frame onto a solid mortar or concrete bed.
Position the frame so the top edge sits approximately 2–3mm below the finished paving level. This helps ensure the paving sits flush once installed.
Use a trowel to smooth the mortar around the frame, leaving enough depth for both the paving slab and its mortar bed.
Regularly check the frame is level before allowing the mortar to begin setting.
Step 3: Lay the Surrounding Paving
Lay the paving around the manhole cover first, maintaining your chosen laying pattern.
Keeping the surrounding paving in place makes it much easier to accurately cut the slabs that will fit inside the recessed tray.
Step 4: Cut and Fit the Paving
Remove the recessed tray from the frame.
Carefully measure and cut the paving slabs to fit neatly inside the tray using a suitable power saw or disc cutter.
Spread a full bed of mortar across the base of the tray before laying the cut paving pieces into position.
Before filling the joints, cover the lifting keyholes with masking tape to prevent mortar or jointing compound from blocking them.
Once the mortar has cured, remove the tape and ensure the cover can still be lifted easily when access is required.
Disclaimer: This guide is provided for general information purposes only. Buildland accepts no responsibility for any injury, loss or damage resulting from the use of this information. Always follow relevant manufacturer instructions, building regulations and health and safety guidelines. All work is carried out at your own risk.
Product Recommendations
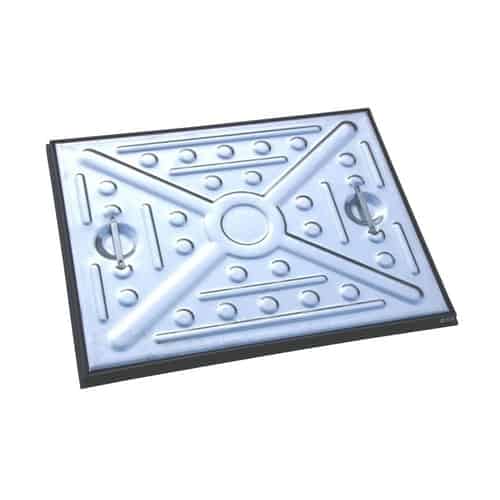
Manhole Cover And Frame 600 X 450mm
£34.05 - 42.25 ex. VAT
£40.86 - £50.70 inc. VAT
View ProductAdd To Basket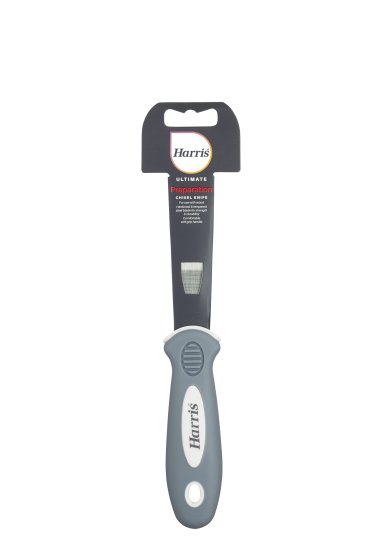
Harris Ultimate Chisel Knife 1″
£2.20 ex. VAT
£2.64 inc. VAT
View ProductAdd To Basket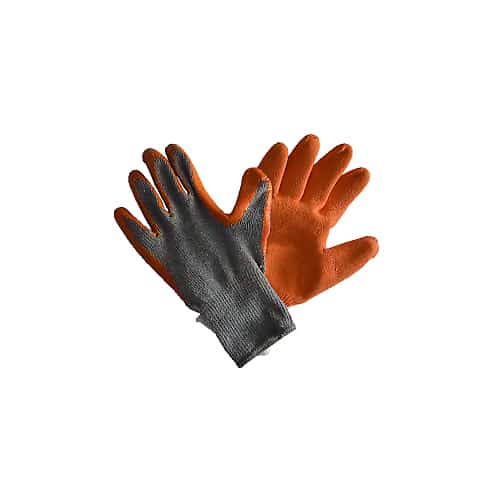
Pti Gloves (Grip) Each
£0.83 - 0.83 ex. VAT
£1.00 - £1.00 inc. VAT
View ProductAdd To Basket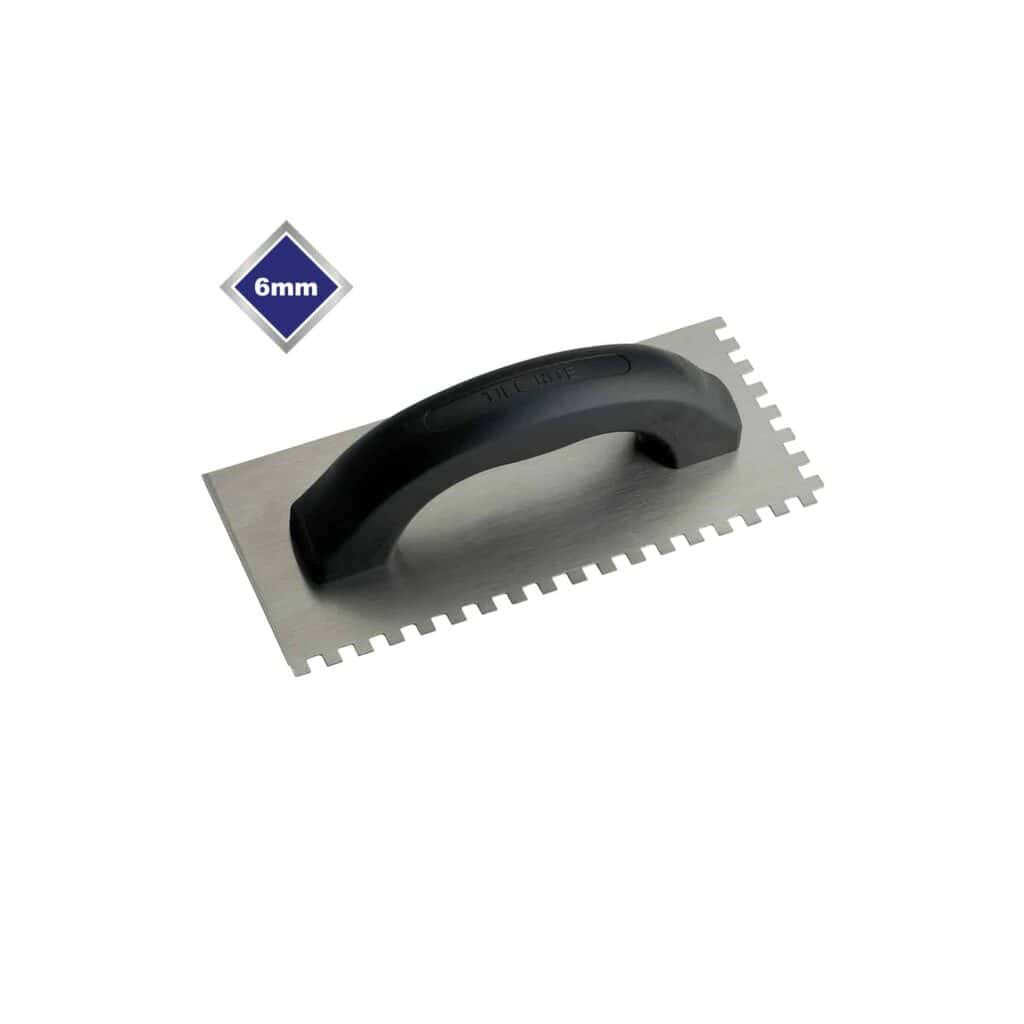
Economy Square Notched Trowel Each
£2.19 - 3.15 ex. VAT
£2.63 - £3.78 inc. VAT
View ProductAdd To Basket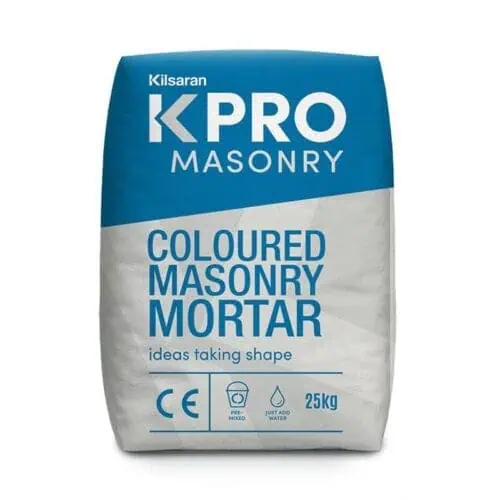
Coloured Mortar 25kg
£14.95 - 14.95 ex. VAT
£17.94 - £17.94 inc. VAT
View ProductAdd To Basket
Manhole Cover And Frame 600 X 450mm
£34.05 - £42.25 ex. VAT
£40.86 - £50.70 inc. VAT
View ProductAdd To BasketHarris Ultimate Chisel Knife 1″
£2.20 ex. VAT
£2.64 inc. VAT
View ProductAdd To BasketPti Gloves (Grip) Each
£0.83 - £0.83 ex. VAT
£1.00 - £1.00 inc. VAT
View ProductAdd To BasketEconomy Square Notched Trowel Each
£2.19 - £3.15 ex. VAT
£2.63 - £3.78 inc. VAT
View ProductAdd To BasketColoured Mortar 25kg
£14.95 - £14.95 ex. VAT
£17.94 - £17.94 inc. VAT
View ProductAdd To Basket