
How To Build A Garden Shed
A garden shed provides valuable storage space while helping to keep your garden organised and clutter-free. Building a shed is a straightforward project when you have a solid base and follow the correct assembly steps. Follow our guide below, and don’t forget to browse our recommended products at the end of this article to help complete your project.
Tools & Materials You’ll Need
- Garden shed
- Shed base
- Step ladder
- Protective gloves
- Safety goggles
- Spirit level
- Tape measure
- Exterior wood preserver
- Exterior sealant
- Sealant gun
- Wood screws
- Drill or cordless drill/driver
- Wood drill bits
- Screwdriver
- Felt nails
- Utility or craft knife
- Claw hammer
- Paint or varnish brush
- Temporary timber battens
Step 1: Prepare the Shed Base
A strong, level base is essential to ensure your shed remains stable and that the doors and windows operate correctly.
Suitable shed bases include:
- Treated timber bearers on compacted hardcore or gravel.
- Interlocking plastic shed base systems.
- Concrete paving slabs laid on a level sand bed.
- Solid concrete bases.
Whichever base you choose, it should be slightly smaller than the external dimensions of the shed and completely level before installation begins.
Step 2: Protect the Timber
Before assembling the shed, apply a quality wood preservative to all exposed timber.
Although many sheds are supplied with a factory-applied base coat, applying at least two additional coats of preservative will provide extra protection against moisture, rot and weathering.
Allow the timber to dry fully before assembly.
Step 3: Get Some Help
Most shed panels are not particularly heavy, but they are awkward to handle safely on your own.
Having a second person available will make assembly much easier, especially when lifting wall and roof panels into position.
Step 4: Assemble the Floor
Some sheds are supplied with a fully assembled floor, while others require the floor frame to be built first.
If assembly is required:
- Lay out the floor joists following the manufacturer’s instructions.
- Fix the outer joists first.
- Install the remaining joists evenly across the floor frame.
- Secure the floor panels to the joists.
Ensure the completed floor is square and level before continuing.
Step 5: Assemble the Wall Panels
Mark the centre of each wall panel and the floor to help position the shed accurately.
Start by standing one gable end on the floor.
While your helper holds the panel in place, check it is vertical using a spirit level and temporarily brace it with a timber batten.
Attach the side panels to the gable using countersunk screws before fitting the remaining wall panels, including the door section.
Do not permanently fix the walls to the floor until the roof has been installed.
Step 6: Fit the Roof
If your shed includes a ridge support or roof support bar, install this before fitting the roof panels.
Secure the roof panels according to the manufacturer’s instructions, ensuring they are evenly aligned on both sides.
Next, install the roofing felt:
- Roll the felt from front to back.
- Leave approximately 50mm overlap on all sides.
- Secure with felt nails at approximately 100mm intervals.
Once complete:
- Apply exterior sealant to the outside corners.
- Fix the corner trims into position.
- Install the fascias and finials, pre-drilling pilot holes where necessary to reduce the risk of splitting the timber.
Step 7: Install the Windows
Fit any window sills supplied with the shed before installing the glazing.
Slide each sill into position before fixing the window cover strips.
Insert the glazing panels from inside the shed, ensuring they sit correctly on the window sill.
Secure the glazing using the supplied window beading and small nails, taking care not to damage the glazing while fixing.
Step 8: Final Checks
Once the shed has been fully assembled:
- Check all fixings are tight.
- Ensure the doors and windows open and close correctly.
- Apply a final coat of wood preservative if required.
- Seal any external joints to improve weather resistance.
Your shed is now ready to use.
Disclaimer: This guide is provided for general information purposes only. Buildland accepts no responsibility for any injury, loss or damage resulting from the use of this information. Always follow relevant manufacturer instructions, building regulations and health and safety guidelines. All work is carried out at your own risk.
Product Recommendations
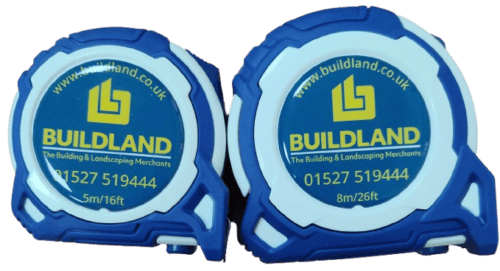
Buildland Komelon Tape Measure 5m & 8m
£4.83 - 6.72 ex. VAT
£5.80 - £8.06 inc. VAT
View ProductAdd To Basket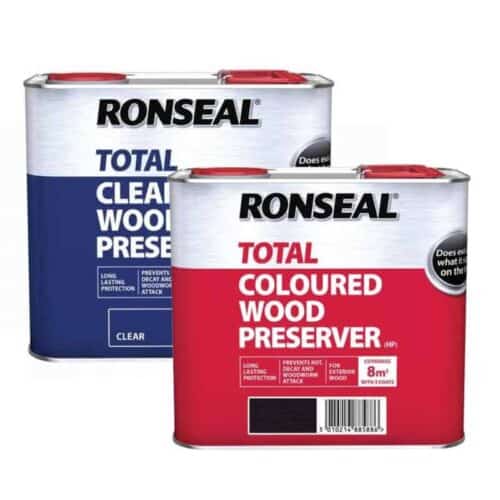
Ronseal Total Wood Preserver 2.5L
£19.95 - 19.95 ex. VAT
£23.94 - £23.94 inc. VAT
View ProductAdd To Basket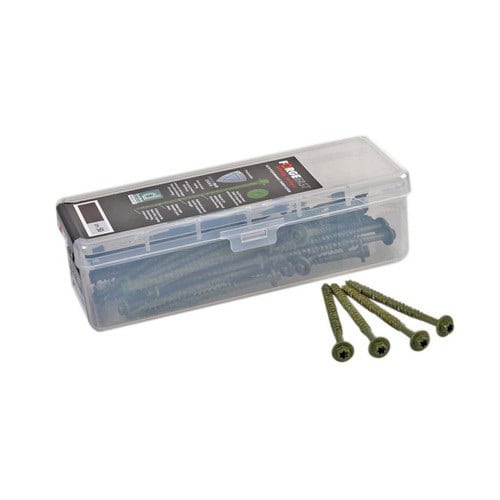
Timberfix Elite Low-Torque Timber Fixing Screws – Green – Tub
£9.67 - 24.63 ex. VAT
£11.60 - £29.56 inc. VAT
View ProductAdd To Basket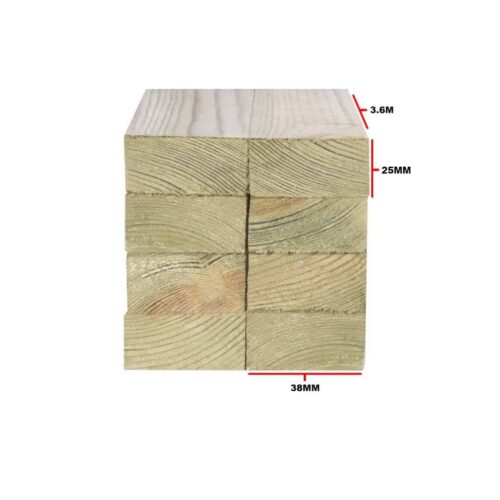
Tanalised Lath Battens 38mm x 25mm 3.6m
£2.25 ex. VAT
£2.70 inc. VAT
View ProductAdd To Basket
Buildland Komelon Tape Measure 5m & 8m
£4.83 - £6.72 ex. VAT
£5.80 - £8.06 inc. VAT
View ProductAdd To BasketRonseal Total Wood Preserver 2.5L
£19.95 - £19.95 ex. VAT
£23.94 - £23.94 inc. VAT
View ProductAdd To BasketTimberfix Elite Low-Torque Timber Fixing Screws – Green – Tub
£9.67 - £24.63 ex. VAT
£11.60 - £29.56 inc. VAT
View ProductAdd To BasketTanalised Lath Battens 38mm x 25mm 3.6m
£2.25 ex. VAT
£2.70 inc. VAT
View ProductAdd To Basket