
How To Repoint Brickwork
Over time, weather and age can cause mortar joints to crack, crumble and deteriorate. Repointing replaces damaged mortar, helping to strengthen brickwork, prevent water penetration and improve the appearance of your property. Follow our simple guide below to learn how to repoint brickwork correctly, and don’t forget to browse our recommended products at the end of this article.
Tools & Materials You’ll Need
- Builder’s sand
- Sharp sand
- Hydrated lime
- Cement
- Pointing trowel
- Hawk
- Club hammer
- Plugging chisel
- Mortar rake or old screwdriver
- Soft brush
- Masonry saw or hacksaw blade (for narrow joints)
- Water spray bottle or soft brush
- Jointing tool or metal jointer
- Spirit level
- Protective gloves
- Safety goggles
- Dust mask
Step 1: Remove the Old Mortar
Start at the top of the wall and work your way down to prevent debris falling onto completed sections.
Remove the old mortar from the vertical joints first, followed by the horizontal joints. This helps reduce the risk of damaging the surrounding bricks.
Use a mortar rake, old screwdriver or plugging chisel to carefully remove the mortar to a depth of approximately 8–12mm, or at least the width of the joint.
If the mortar is loose deeper than this, continue removing it until you reach sound material.
For very narrow joints, use a masonry saw or hacksaw blade where necessary.
Important: Avoid using an angle grinder or disc cutter, as these can easily damage the edges of the bricks.
Before repointing, replace any loose or damaged bricks and ensure all joints are free from dust and debris.
Step 2: Mix and Apply the Mortar
A suitable mortar mix for repointing is:
Option 1
- 6 Parts Builder’s Sand
- 1 Part Hydrated Lime
- 1 Part Cement
Option 2
- 3 Parts Sharp Sand
- 1 Part Hydrated Lime
Measure each batch carefully to maintain a consistent colour throughout the project.
Top Tip: Avoid using a simple sand and cement mix. It can trap moisture within the wall, making the brickwork more susceptible to frost damage and reducing the bond between the mortar and bricks.
Only mix enough mortar for a small section at a time, as it will begin to harden if left too long.
The mortar should be firm enough to hold its shape on a trowel without sagging.
Before applying the new mortar:
- Brush out all dust and loose debris.
- Lightly dampen the joints using a spray bottle or soft brush.
This helps prevent the existing brickwork from drawing moisture too quickly from the fresh mortar.
Working on around 1m² at a time, fill the horizontal joints first, followed by the vertical joints.
Use a pointing trowel to firmly press the mortar into each joint, ensuring there are no air gaps.
Step 3: Finish the Joints
Once the mortar has started to firm up, finish the joints using your preferred pointing style.
Flush Pointing
The mortar is finished level with the face of the brickwork, creating a clean, simple appearance. This can be achieved by running a thin piece of timber or jointing tool along the joints once the mortar has started to set.
Hollow Key Pointing
A rounded joint is formed by pulling a curved jointing tool, metal rod or length of tubing along the mortar. This is one of the easiest finishes for DIY projects and provides good weather resistance.
Weather Struck Pointing
Weather struck joints are angled to encourage rainwater to run away from the wall. This finish is very durable but requires more skill to achieve a neat, consistent appearance.
Recessed Pointing
The mortar is pressed back slightly from the face of the brickwork using a jointing tool. Although this creates a decorative effect, recessed pointing is generally not recommended for external walls, as water can collect within the recessed joints.
Disclaimer: This guide is provided for general information purposes only. Buildland accepts no responsibility for any injury, loss or damage resulting from the use of this information. Always follow relevant manufacturer instructions, building regulations and health and safety guidelines. All work is carried out at your own risk.
Product Recommendations
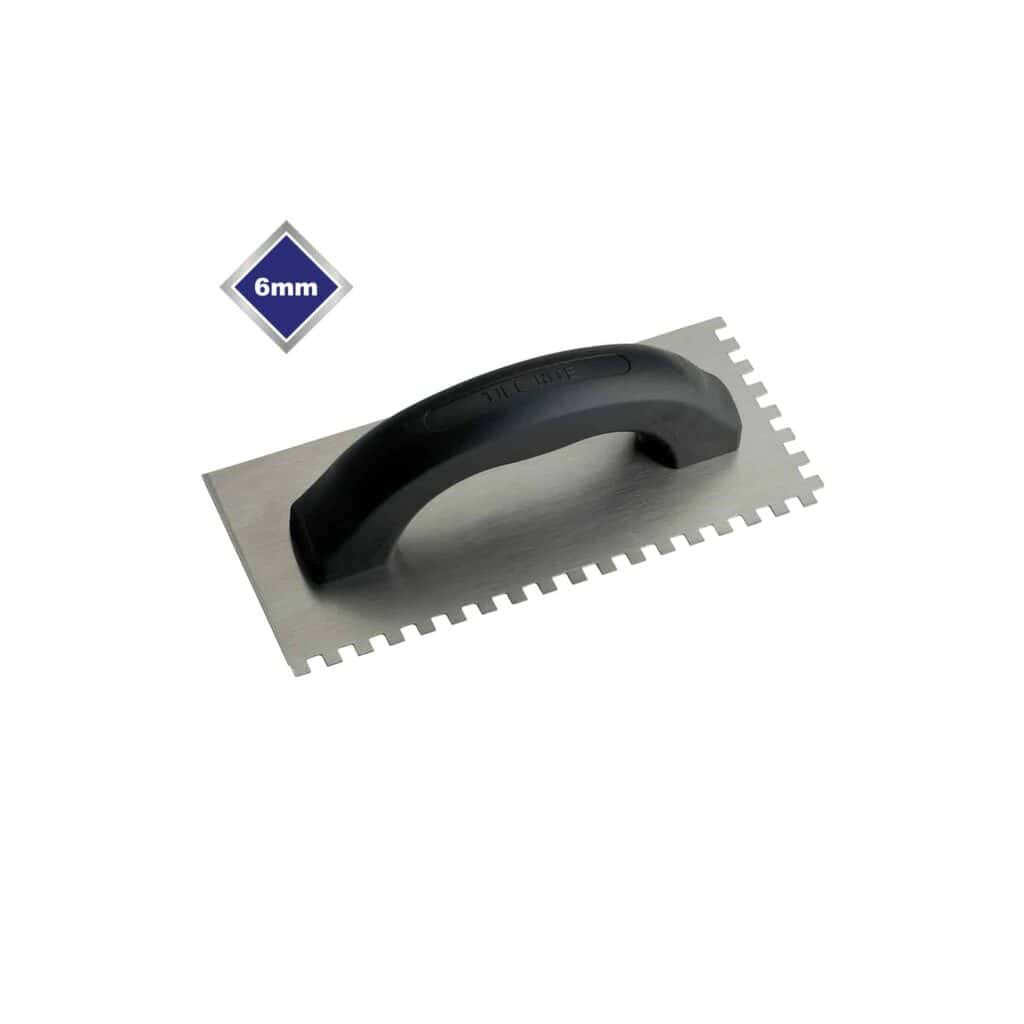
Economy Square Notched Trowel Each
£2.19 - 3.15 ex. VAT
£2.63 - £3.78 inc. VAT
View ProductAdd To Basket
Coloured Mortar 25kg
£14.95 - 14.95 ex. VAT
£17.94 - £17.94 inc. VAT
View ProductAdd To Basket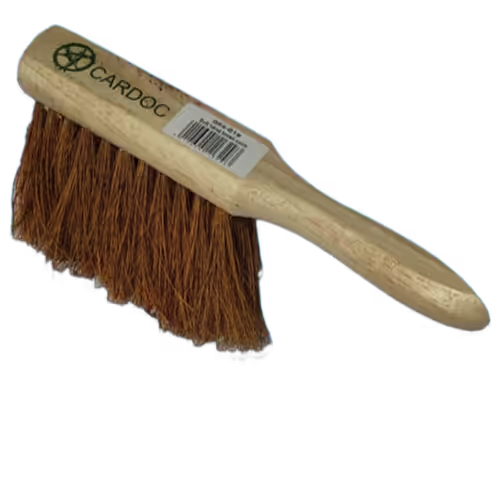
Coco Soft Bristle Hand Brush 5 Inch
£1.50 ex. VAT
£1.80 inc. VAT
View ProductAdd To Basket
Economy Square Notched Trowel Each
£2.19 - £3.15 ex. VAT
£2.63 - £3.78 inc. VAT
View ProductAdd To BasketColoured Mortar 25kg
£14.95 - £14.95 ex. VAT
£17.94 - £17.94 inc. VAT
View ProductAdd To BasketCoco Soft Bristle Hand Brush 5 Inch
£1.50 ex. VAT
£1.80 inc. VAT
View ProductAdd To Basket