How To Install Plasterboard
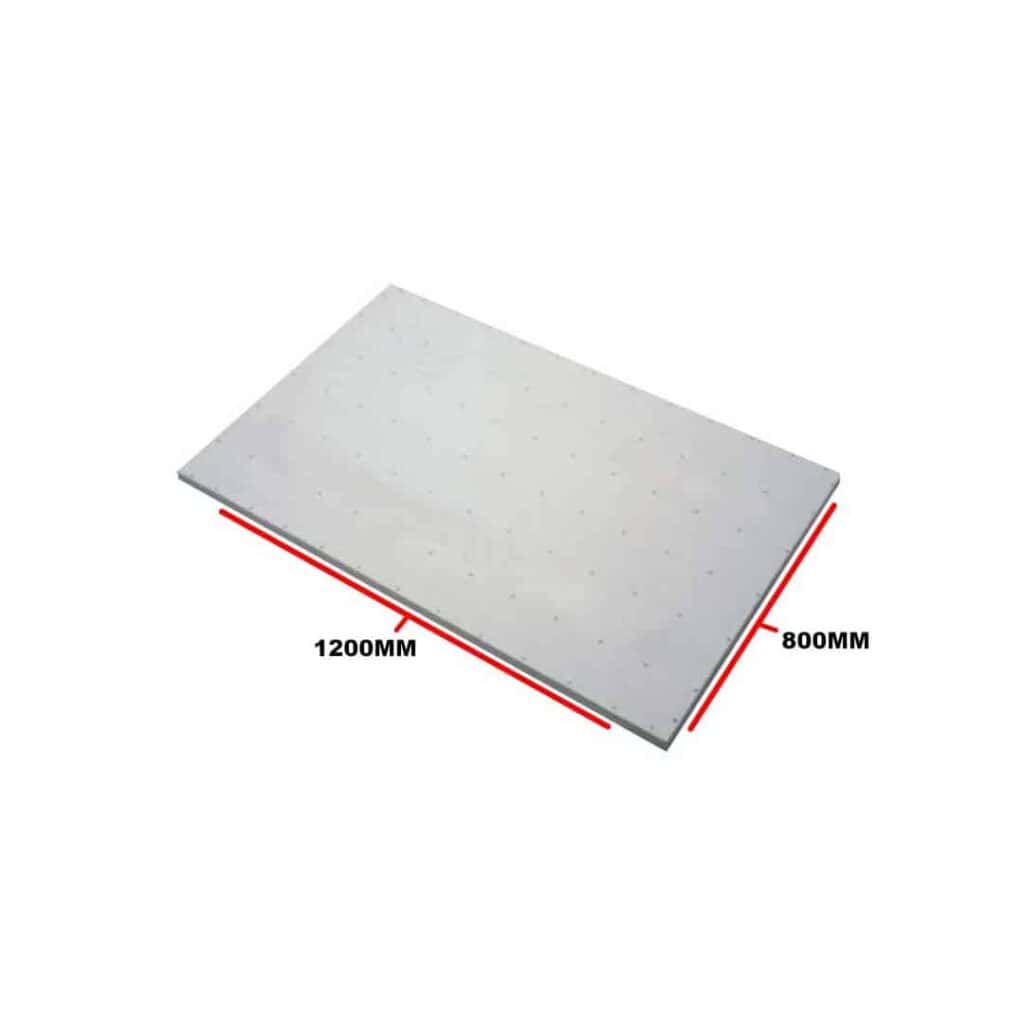
Plasterboarding is one of the quickest ways to create smooth walls and ceilings ready for decorating or plastering. With accurate measuring, careful cutting and secure fixing, you can achieve a professional finish that lasts for years. Follow our step-by-step guide below, and don’t forget to browse our recommended products at the end of this article to help complete your project.
Tools & Materials You’ll Need
- Plasterboard sheets
- Drill or cordless screwdriver
- Tape measure
- Spirit level
- Bolster chisel
- Utility or craft knife
- Straight edge
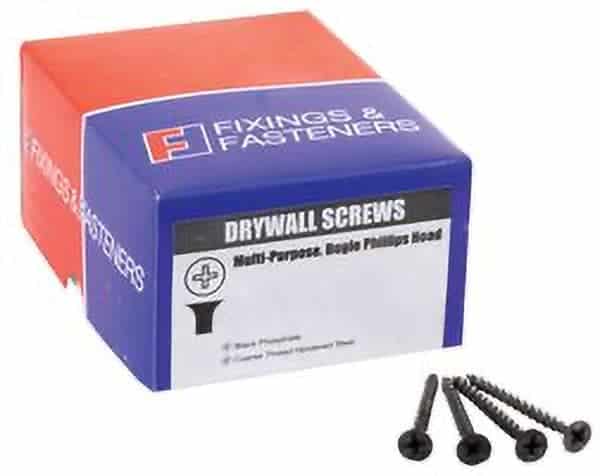
- Plasterboard screws
- Plasterboard scrim tape
- Timber off-cut
- Protective gloves
- Safety goggles
- Dust mask
Step 1: Measure the Plasterboard
Measure the height from floor to ceiling.
Cut each plasterboard sheet so it is approximately 12mm shorter than the floor-to-ceiling height. This small gap makes it easier to position the board during installation.
Step 2: Cut the Board
Mark your cutting line on the ivory face of the plasterboard using a straight edge.
Score along the line with a sharp utility knife until the paper surface has been cut.
Step 3: Snap the Board
Carefully lift the board and fold it backwards along the scored line until it snaps cleanly.
Cut through the paper backing with your utility knife to separate the two pieces.
Smooth any rough edges if necessary before fitting.
Step 4: Position the Plasterboard
Plasterboard sheets are much easier to install with two people.
Lift the board into position with the ivory face facing outwards.
To hold it firmly against the ceiling or frame, place a bolster chisel at the bottom of the sheet with a timber off-cut underneath and gently press down with your foot to wedge the board tightly into position.
Check the board is straight before fixing.
Step 5: Fix the Board
Secure the plasterboard using 32mm plasterboard screws.
Space the screws approximately 150mm apart, keeping them around 5mm from the edges of the board.
Continue fitting the remaining boards in the same way.
Trim boards where necessary around door openings, adjacent walls or skirting boards to achieve a neat fit.
Step 6: Finish the Joints
Once all the plasterboard has been installed, apply plasterboard scrim tape over every joint.
The tape helps reinforce the joints and reduces the risk of future cracking, creating a smooth surface ready for plastering or jointing compound.
Disclaimer: This guide is provided for general information purposes only. Buildland accepts no responsibility for any injury, loss or damage resulting from the use of this information. Always follow relevant manufacturer instructions, building regulations and health and safety guidelines. All work is carried out at your own risk.