
How To Lay Paving Drainage
Installing a drainage channel is an effective way to manage surface water around patios, paths and driveways. By creating the correct fall, you can direct water away from paved areas and reduce the risk of pooling and flooding. Follow our easy step-by-step guide below, and don’t forget to browse our recommended products at the end of this article to help you complete the job with confidence.
Tools & Materials You’ll Need
- 12.5mm shim
- Cement mixer
- Float
- Trowel
- Hammer
- Tape measure
- Wooden pegs
- Nails
- 1m straightedge
- Spirit level
- Concrete (4 parts mixed aggregate to 1 part cement)
Step 1: Plan the Drainage Channel
Decide where your drainage channel will run. It should be positioned in the centre of the paved area (or wherever water naturally collects), with the paving on both sides sloping gently towards the channel.
The drainage channel itself should have a fall of 1:80 to ensure water flows efficiently towards the outlet.
Step 2: Set Out the Channel
Position a length of timber to mark the edge of the drainage channel, leaving a gap slightly wider than the drainage channel or guttering being used as the former.
Secure the timber in place using wooden pegs and nails.
Using a 1m straightedge and a 12.5mm shim, check that the channel maintains a consistent 1:80 fall along its entire length. This is essential for effective drainage.
Step 3: Pour the Concrete Base
Mix your concrete using 4 parts mixed aggregate to 1 part cement.
Pour the concrete into the prepared channel until it sits just below the top edge of the timber guides. Use a float to smooth the surface and create an even base.
Step 4: Form the Drainage Channel
While the concrete is still wet, carefully press the guttering or channel former into the concrete to create the drainage channel.
Remove the former once the shape has been created, then smooth away any ridges or uneven areas with a trowel.
Finally, use a spirit level to check the channel still has the correct 1:80 fall before allowing the concrete to cure.
Disclaimer: This guide is provided for general information purposes only. Buildland accepts no responsibility for any injury, loss or damage resulting from the use of this information. Always follow relevant manufacturer instructions, building regulations and health and safety guidelines. All work is carried out at your own risk.
Product Recommendations

Rollycarri Cement Mixer With Mixer Stand
£345.00 - 435.00 ex. VAT
£414.00 - £522.00 inc. VAT
View ProductAdd To Basket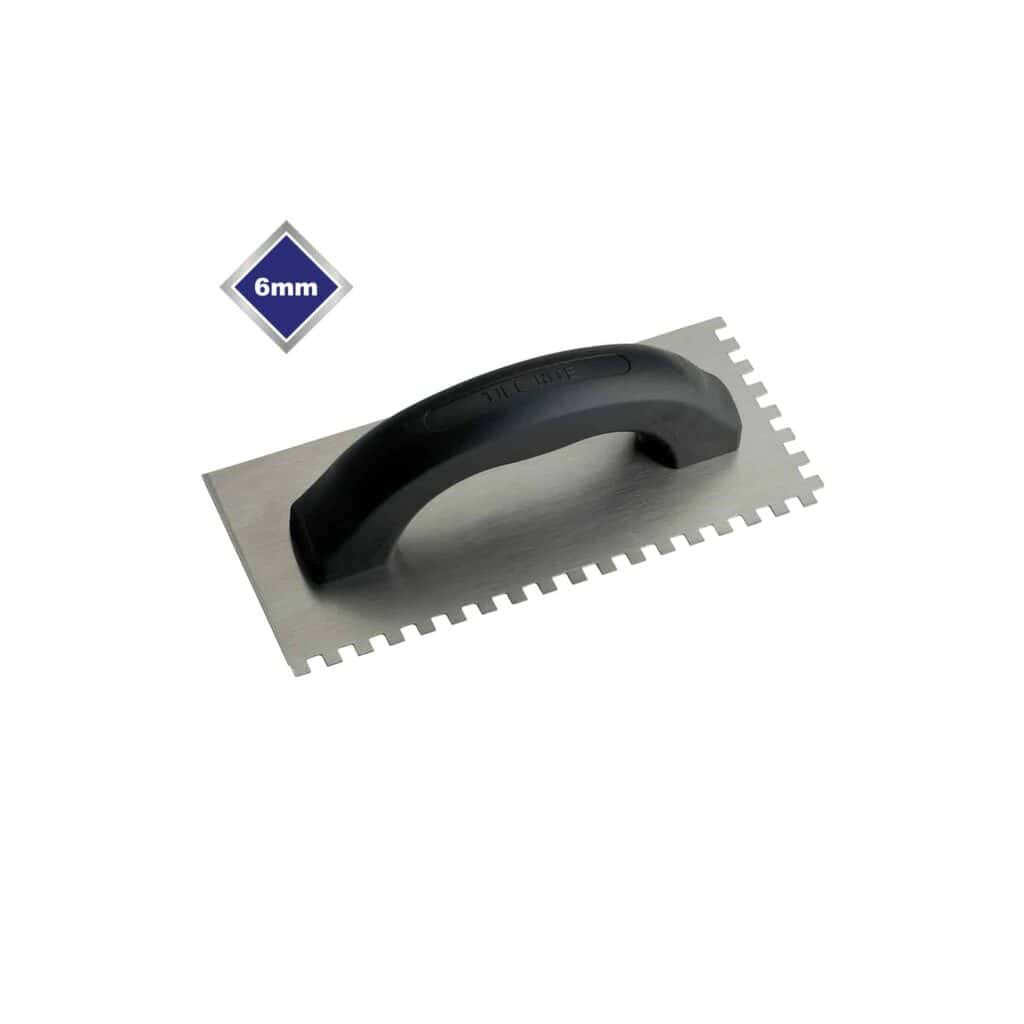
Economy Square Notched Trowel Each
£2.19 - 3.15 ex. VAT
£2.63 - £3.78 inc. VAT
View ProductAdd To Basket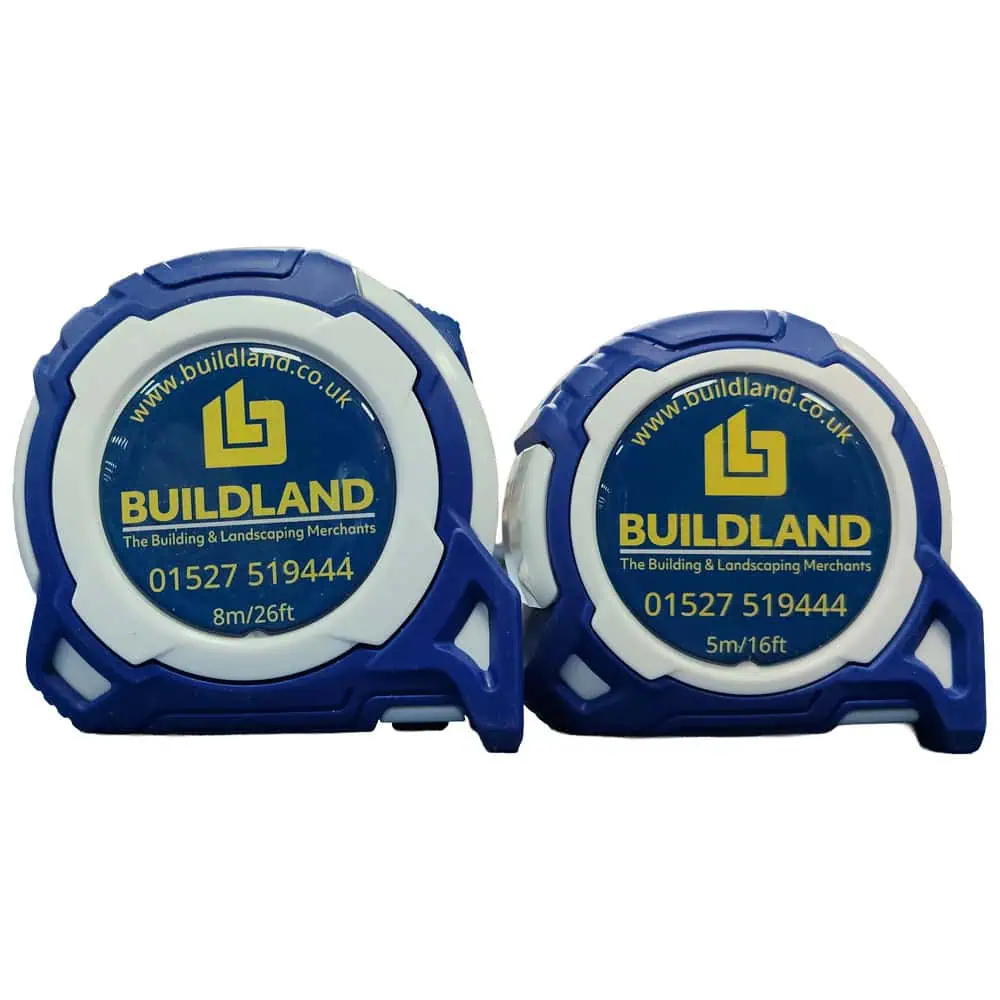
Buildland Komelon Tape Measure 5m & 8m
£4.83 - 6.72 ex. VAT
£5.80 - £8.06 inc. VAT
View ProductAdd To Basket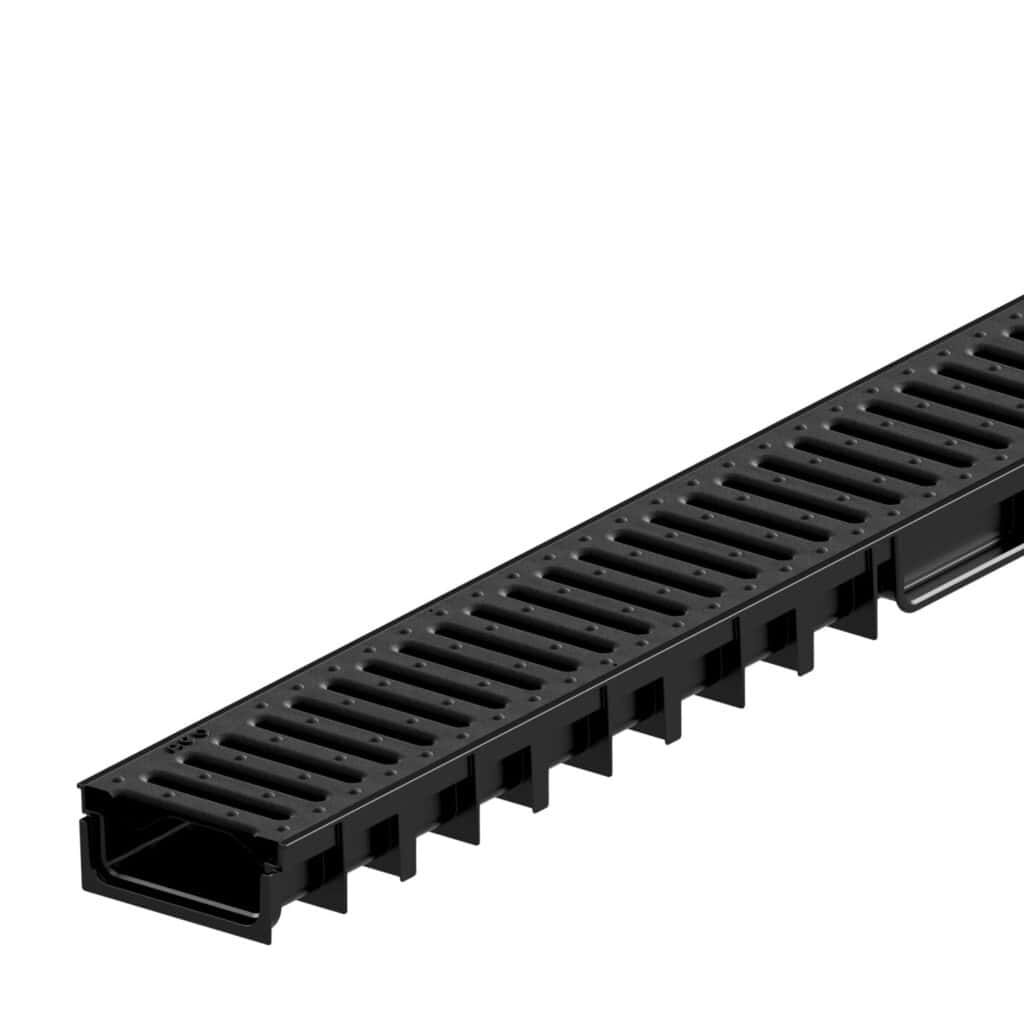
Aco 50mm Thinline Channel With Plastic Grid 1m
£7.45 ex. VAT
£8.94 inc. VAT
View ProductAdd To Basket
Rollycarri Cement Mixer With Mixer Stand
£345.00 - £435.00 ex. VAT
£414.00 - £522.00 inc. VAT
View ProductAdd To BasketEconomy Square Notched Trowel Each
£2.19 - £3.15 ex. VAT
£2.63 - £3.78 inc. VAT
View ProductAdd To BasketBuildland Komelon Tape Measure 5m & 8m
£4.83 - £6.72 ex. VAT
£5.80 - £8.06 inc. VAT
View ProductAdd To BasketAco 50mm Thinline Channel With Plastic Grid 1m
£7.45 ex. VAT
£8.94 inc. VAT
View ProductAdd To Basket