
How To Install a Garden Gate
Installing a garden gate is a great way to improve security, privacy and access to your outdoor space. With the correct preparation and installation, your gate will operate smoothly and remain sturdy for years to come. Follow our simple guide below, and don’t forget to browse our recommended products at the end of this article to help complete your project.
Tools & Materials You’ll Need
- Garden gate
- Timber gate posts
- Hinges
- Gate latch
- Galvanised screws
- Wood preservative
- Concrete mix
- Spirit level
- Tape measure
- Sliding bevel
- Hand saw or circular saw
- Drill and wood drill bits
- Screwdriver or cordless drill
- Spade
- Timber props or braces
- Wooden wedges
Before You Begin
Choose gate posts suitable for the size and weight of your gate.
- Lightweight gates should use posts approximately 100mm x 100mm, extending around 610mm longer than the gate height.
- Heavier gates (over 1.2m high or wide) require thicker posts extending at least 760mm longer than the gate height.
Always check the manufacturer’s recommendations before installation.
Treat all timber gate posts with a quality wood preservative before fitting, and set them securely in concrete rather than using post spikes. For long-lasting performance, choose galvanised or lacquered gate fittings to help prevent rust.
Step 1: Prepare the Gate Posts
If your gate posts do not already have weathered tops, cut the top of each post to approximately 20° to allow rainwater to run off.
Use a sliding bevel to mark the angle before making the cut.
Step 2: Protect the Timber
Continue the cut line down the face of the post and saw carefully.
Once cut, apply wood preservative to the exposed timber. If you’re using untreated posts, treat the entire post before installation.
Step 3: Position the Gate
Decide which direction the gate will open before laying it face down on level ground.
Position the gate posts on either side, allowing:
- 50mm above the top of the gate
- 5mm clearance on each side of the gate
Raise the gate using timber battens or wedges so it sits in the correct position while you fit the hardware.
Step 4: Fit the Hinges
Position the hinges on the back of the gate and mark the fixing holes.
Drill pilot holes before fixing the hinges with galvanised screws. Test the first hole before drilling the remainder to ensure the drill bit is the correct size.
If preferred, you can wait until the gate is hung before securing the hinges to the posts.
Step 5: Install the Latch
Mark and drill pilot holes for the latch before fixing it into place.
Remember to maintain the 5mm clearance between the gate and the post so the gate opens and closes freely.
Step 6: Brace the Assembly
Brace the gate and posts together using three lengths of timber to hold everything securely in position.
Use this assembled frame to mark the exact locations for your post holes.
Step 7: Dig the Post Holes
Dig each post hole approximately one and a half spades wide and deep enough to leave around 50mm clearance beneath the gate once installed.
Before fixing the posts permanently, check the ground is level where the gate will swing.
For soft ground, dig a trench approximately 300mm wide and 200mm deep between the post holes and fill it with concrete. This helps prevent the posts from pulling together over time.
Step 8: Set the Posts
Lower the gate posts into the holes and use a spirit level to ensure they are perfectly vertical and aligned.
Secure everything with timber props before pouring concrete around each post.
Shape the top of the concrete so it slopes away from the timber, allowing rainwater to drain away from the posts.
Step 9: Allow the Concrete to Cure
Leave the concrete to set for at least 48 hours before removing the props and using the gate.
Allowing the concrete to fully cure will ensure the posts remain stable and provide years of reliable use.
Disclaimer: This guide is provided for general information purposes only. Buildland accepts no responsibility for any injury, loss or damage resulting from the use of this information. Always follow relevant manufacturer instructions, building regulations and health and safety guidelines. All work is carried out at your own risk.
Product Recommendations

Dome Gate 0.9m x 0.9m
£54.95 ex. VAT
£65.94 inc. VAT
View ProductAdd To Basket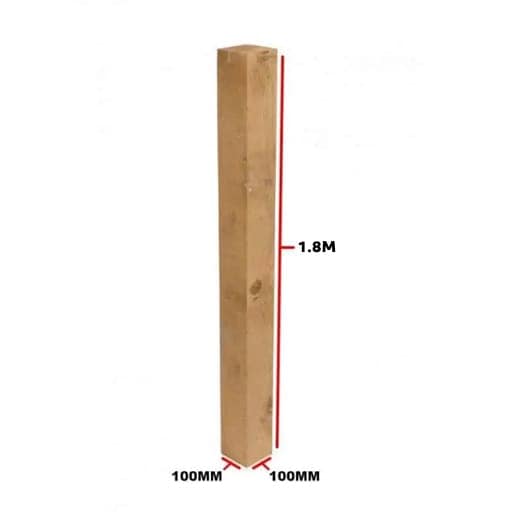
Wooden Posts Brown 100mm x 100mm x 1800mm
£10.45 ex. VAT
£12.54 inc. VAT
View ProductAdd To Basket
Hanson Post Mix Concrete Poly Bag 20kg
£5.79 ex. VAT
£6.95 inc. VAT
View ProductAdd To Basket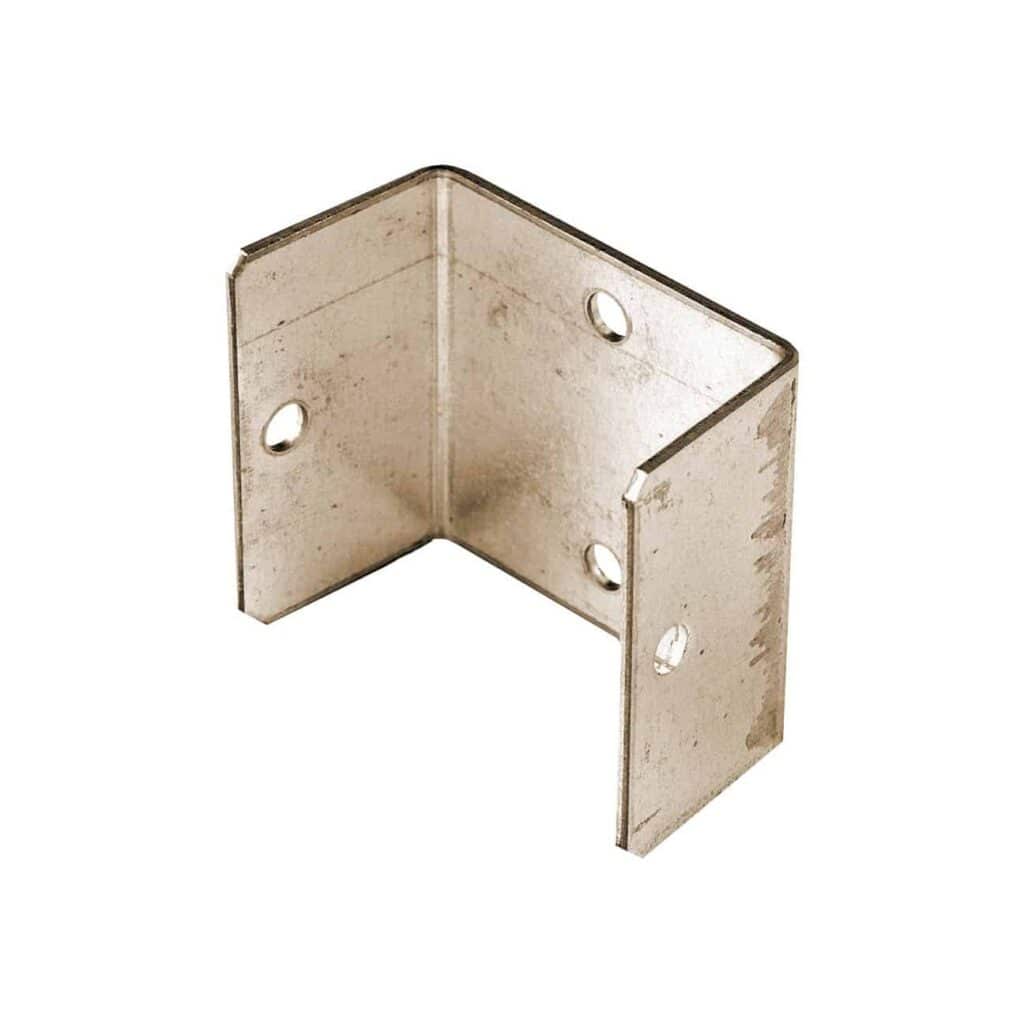
Fence Panel Clip
£0.44 ex. VAT
£0.53 inc. VAT
View ProductAdd To Basket
Dome Gate 0.9m x 0.9m
£54.95 ex. VAT
£65.94 inc. VAT
View ProductAdd To BasketWooden Posts Brown 100mm x 100mm x 1800mm
£10.45 ex. VAT
£12.54 inc. VAT
View ProductAdd To BasketHanson Post Mix Concrete Poly Bag 20kg
£5.79 ex. VAT
£6.95 inc. VAT
View ProductAdd To BasketFence Panel Clip
£0.44 ex. VAT
£0.53 inc. VAT
View ProductAdd To Basket