
How To Build a Stone Wall in Your Garden
A natural stone wall is a timeless feature that can add character, define boundaries and create attractive raised areas within your garden. With careful planning and the right techniques, you can build a strong, durable wall that will last for many years. Follow our simple step-by-step guide below, and don’t forget to browse our recommended products at the end of this article to help complete your project.
Tools & Materials You’ll Need
- Walling
- Mortar
- Concrete footing
- Bricklayer’s hammer or stone axe
- Trowel
- Spirit level
- String line
- Tape measure
- Metal wall ties
- Soft banister brush
- Protective gloves
- Safety goggles
Step 1: Select Your Stones
Sort through your stones and choose the largest, flattest pieces for the corners of the wall. These are known as quoins and provide strength and stability.
If suitable corner stones aren’t available, carefully shape larger stones using a bricklayer’s hammer or stone axe.
Always wear gloves and safety goggles when shaping stone.
Step 2: Lay the First Course
Apply a bed of mortar onto the prepared concrete footing.
Position a quoin at each end of the wall, ensuring they are placed accurately along your marked guide lines.
These corner stones will act as your reference points for the rest of the wall.
Step 3: Fill Between the Corners
Lay the remaining stones between the two corner quoins.
Natural stone walls don’t require every stone to be the same size or height. Mix different sizes together to create a natural appearance while maintaining a solid bond.
Take your time to ensure each stone sits securely in the mortar.
Step 4: Build the Corners First
Continue building the corner sections first, just as you would when constructing a brick wall.
Regularly check the quoins are perfectly vertical using a spirit level.
Stretch a string line between the corners approximately 300–400mm above the footing and use this as a guide to keep the wall level.
Move the string line higher as the wall progresses.
Step 5: Build the Wall Evenly
Build each side of the wall up to a maximum height of around 500mm before moving to the opposite side.
Keeping both sides at a similar height helps maintain stability while the mortar cures.
Larger stones, often called jumpers, can be used occasionally to vary the course heights and create a more traditional appearance.
Step 6: Strengthen the Wall
Install metal wall ties as the wall is built.
As a guide:
- Position wall ties no more than 900mm apart horizontally.
- Position wall ties no more than 450mm apart vertically.
Fill the centre of the wall with mortar and smaller stone pieces as construction progresses. This creates a stronger, more stable structure.
Step 7: Finish the Wall
Once you’ve reached the desired height, finish the wall with your preferred coping or capping.
One of the most traditional methods is cock and hen capping, where large and small stones are alternated upright along the top of the wall and bedded in mortar.
Before the mortar fully hardens, remove any excess using a trowel and gently brush the stonework with a soft banister brush for a clean, professional finish.
Disclaimer: This guide is provided for general information purposes only. Buildland accepts no responsibility for any injury, loss or damage resulting from the use of this information. Always follow relevant manufacturer instructions, building regulations and health and safety guidelines. All work is carried out at your own risk.
Product Recommendations
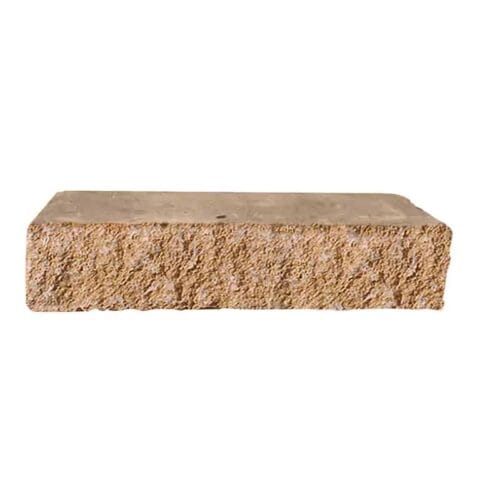
Shearstone Walling Cotswold Village 330 X 65 X 102mm
£1.35 ex. VAT
£1.62 inc. VAT
View ProductAdd To Basket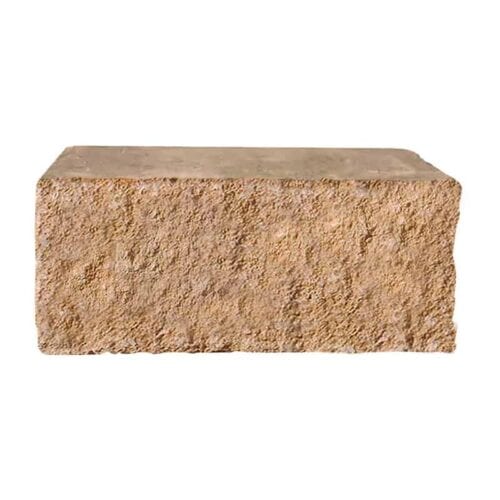
Shearstone Walling Cotswold Village 330 X 140 X 102mm
£2.72 ex. VAT
£3.26 inc. VAT
View ProductAdd To Basket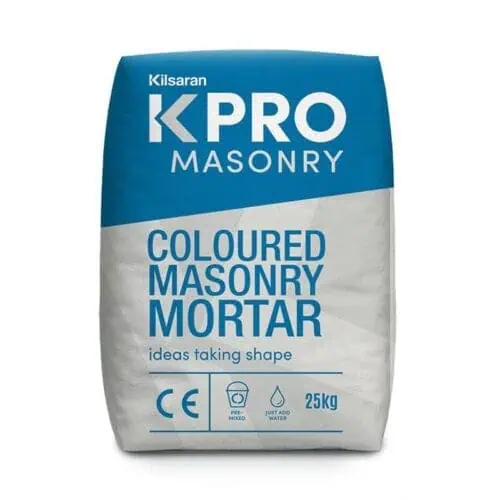
Coloured Mortar 25kg
£14.95 - 14.95 ex. VAT
£17.94 - £17.94 inc. VAT
View ProductAdd To Basket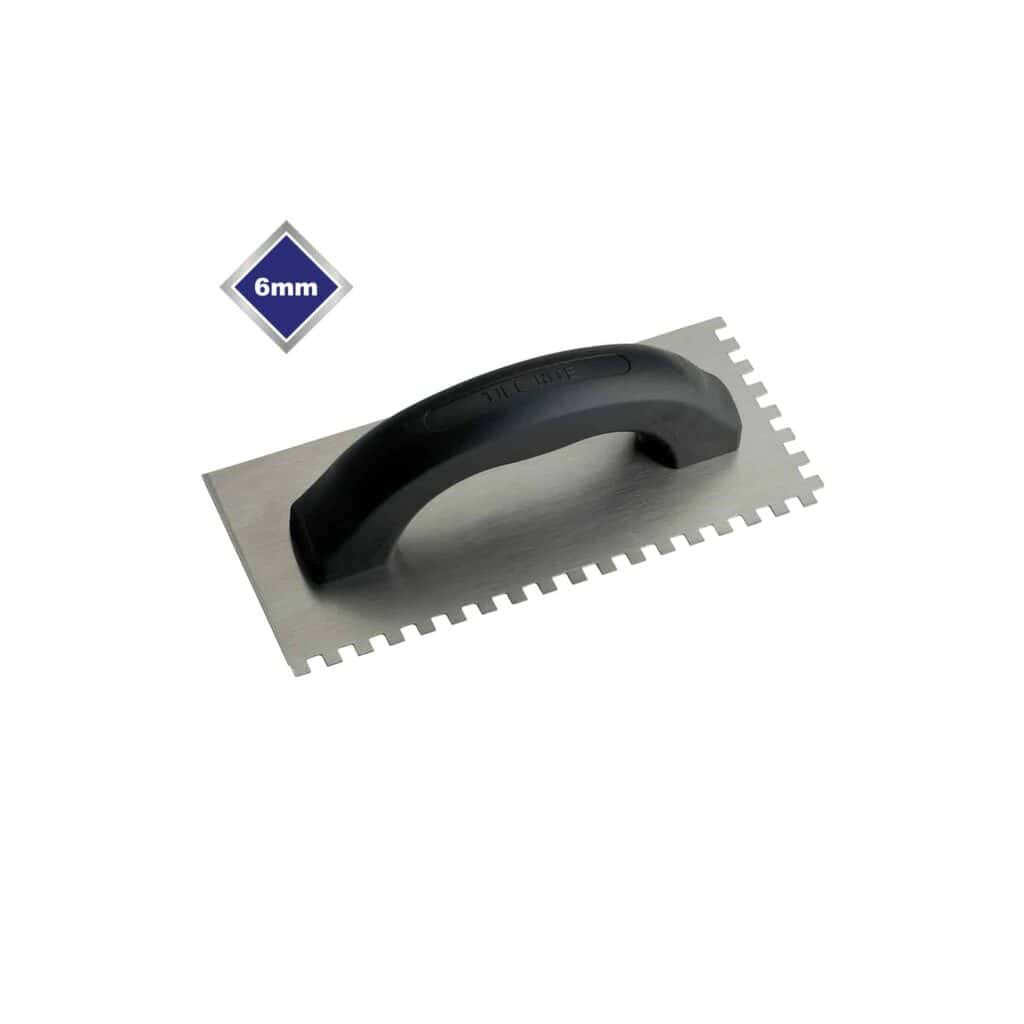
Economy Square Notched Trowel Each
£2.19 - 3.15 ex. VAT
£2.63 - £3.78 inc. VAT
View ProductAdd To Basket
Shearstone Walling Cotswold Village 330 X 65 X 102mm
£1.35 ex. VAT
£1.62 inc. VAT
View ProductAdd To BasketShearstone Walling Cotswold Village 330 X 140 X 102mm
£2.72 ex. VAT
£3.26 inc. VAT
View ProductAdd To BasketColoured Mortar 25kg
£14.95 - £14.95 ex. VAT
£17.94 - £17.94 inc. VAT
View ProductAdd To BasketEconomy Square Notched Trowel Each
£2.19 - £3.15 ex. VAT
£2.63 - £3.78 inc. VAT
View ProductAdd To Basket