
How To Build a Brick Planter
A brick planter is a great way to add structure, colour and interest to your garden while creating the perfect space for flowers, shrubs or small plants. With the right preparation and materials, you can build a sturdy planter that will last for years. Follow our step-by-step guide below, and don’t forget to browse our recommended products at the end of this article to help complete your project.
Tools & Materials You’ll Need
- Bricks
- Mortar
- Coping stones
- Brick trowel
- Spirit level
- Tape measure
- Brick jointer (optional)
- Bucket
- Gloves
- Safety goggles
Step 1: Lay the First Course
Spread a 15mm bed of mortar onto the prepared footing and carefully lay the first course of bricks.
Take your time to ensure the bricks are straight and level, checking regularly with a long spirit level. A level first course is essential for building a strong, even planter.
Step 2: Create Drainage
To prevent water collecting inside the planter, leave small drainage gaps (weep holes) in the first course of brickwork.
A gap every second or third brick is usually sufficient to allow excess water to drain away while maintaining the strength of the planter.
Step 3: Build the Remaining Courses
Continue laying the remaining courses of bricks, maintaining consistent mortar joints and regularly checking that the walls remain level and plumb.
A finished height of approximately 600mm is recommended. Taller planters may require additional reinforcement to withstand the pressure of the soil inside.
Step 4: Finish the Planter
Once you’ve reached the desired height, install coping stones around the top of the planter using mortar to provide a smart, weather-resistant finish.
Allow the mortar to cure for at least one week before filling the planter with soil and adding your plants.
Disclaimer: This guide is provided for general information purposes only. Buildland accepts no responsibility for any injury, loss or damage resulting from the use of this information. Always follow relevant manufacturer instructions, building regulations and health and safety guidelines. All work is carried out at your own risk.
Product Recommendations
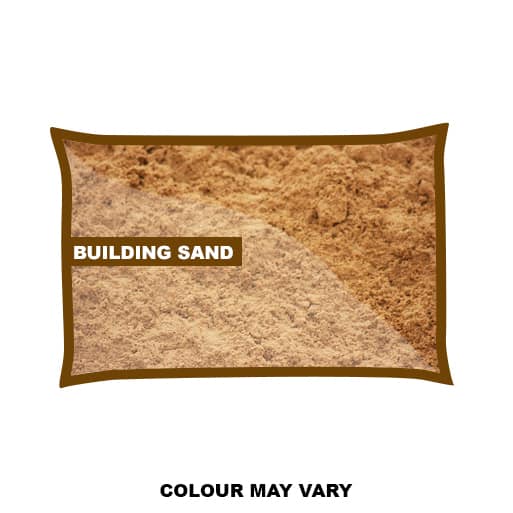
Building Sand Poly Bag
£2.25 ex. VAT
£2.70 inc. VAT
View ProductAdd To Basket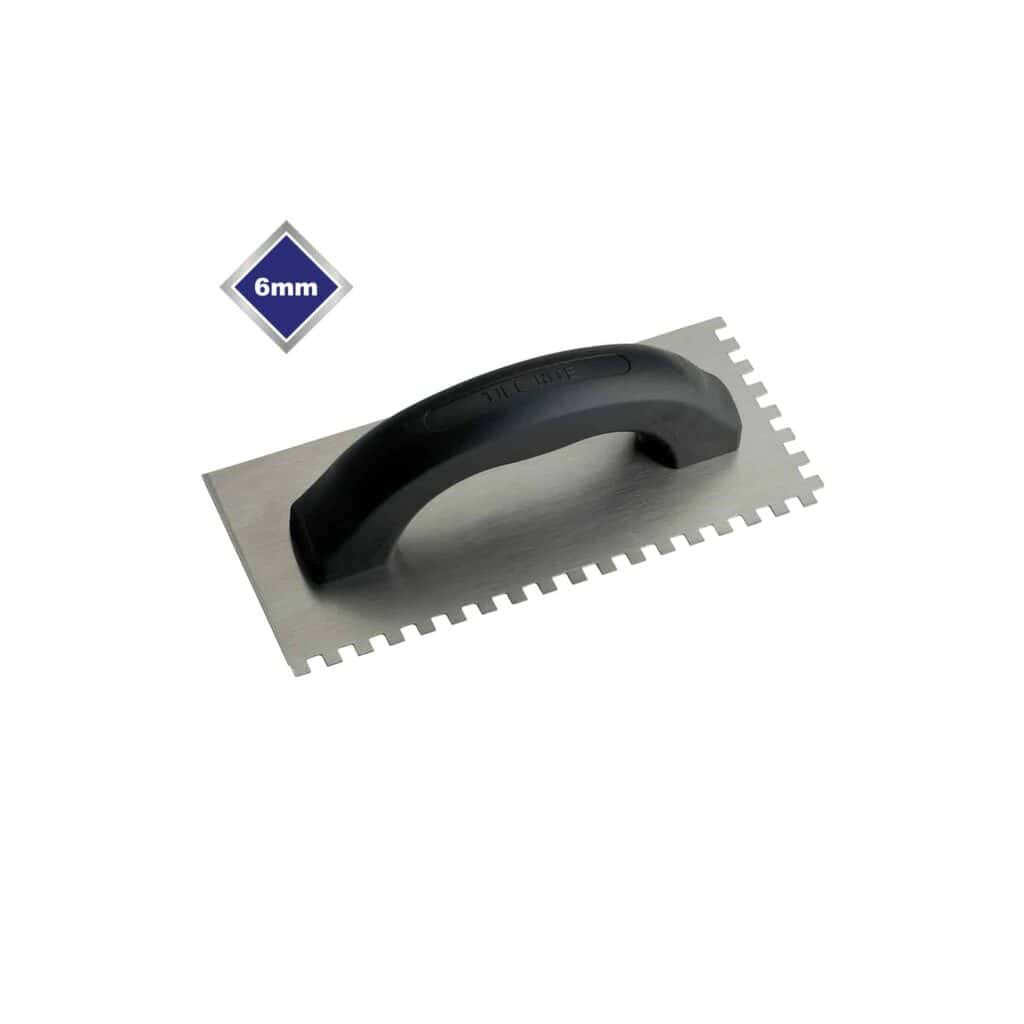
Economy Square Notched Trowel Each
£2.19 - 3.15 ex. VAT
£2.63 - £3.78 inc. VAT
View ProductAdd To Basket
White Cement Poly Bag
£15.75 ex. VAT
£18.90 inc. VAT
View ProductAdd To Basket
Carters Aluminium Concrete Placer
£33.33 ex. VAT
£40.00 inc. VAT
View ProductAdd To Basket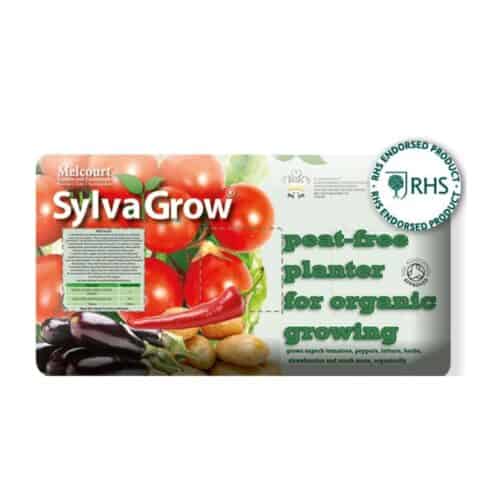
SylvaGrow Peat-free planter
£6.45 ex. VAT
£7.74 inc. VAT
View ProductAdd To Basket
Building Sand Poly Bag
£2.25 ex. VAT
£2.70 inc. VAT
View ProductAdd To BasketEconomy Square Notched Trowel Each
£2.19 - £3.15 ex. VAT
£2.63 - £3.78 inc. VAT
View ProductAdd To BasketWhite Cement Poly Bag
£15.75 ex. VAT
£18.90 inc. VAT
View ProductAdd To BasketCarters Aluminium Concrete Placer
£33.33 ex. VAT
£40.00 inc. VAT
View ProductAdd To BasketSylvaGrow Peat-free planter
£6.45 ex. VAT
£7.74 inc. VAT
View ProductAdd To Basket