
How To Build Garden Steps
Building garden steps is a great way to improve access to sloping gardens while adding an attractive feature to your outdoor space. Whether you’re creating steps to a patio, lawn or raised garden area, careful planning and the right materials will ensure a safe and long-lasting result. Follow our simple step-by-step guide below, and don’t forget to explore our recommended products at the end of this article to help you complete your project with confidence.
Tools & Materials You’ll Need
- Bricks
- Paving slabs
- Sharp sand
- Cement
- Hardcore
- Concrete
- Spirit level
- Tape measure
- 10mm shim
- Trowel
- Bucket or cement mixer
Step 1: Build the First Riser
Mix your mortar using **4 parts sharp sand to 1 part cement**. Build the first riser on the concrete footing using two skins of stretcher bond bricks. Check regularly with a spirit level to ensure the bricks are level, then leave the mortar to set for around **2 hours** before continuing.
Step 2: Add the Hardcore
Fill the area behind the riser with hardcore, ensuring it extends slightly beyond where the paving slab (tread) will sit. This creates a strong, stable foundation for the step.
Step 3: Create the Correct Fall
The hardcore should slope slightly towards the back of the step. Use a spirit level with a **10mm shim** placed under the front edge to achieve the correct gradient. This helps support the paving slab while allowing water to drain away.
Step 4: Lay the Tread
Spread a continuous bed of mortar over both the riser and the hardcore. Carefully position the paving slab onto the mortar, allowing it to overhang the front and sides by approximately **40mm** for a neat finish.
If you’re using two slabs side by side, apply pointing mortar (3 parts sharp sand to 1 part cement) to the edge of the first slab before laying the second. This creates a stronger joint and makes pointing easier later.
Step 5: Check the Level
Use your spirit level and 10mm shim to make sure the tread has a slight fall towards the front edge. Once you’re happy with the position, fill all joints with mortar.
Step 6: Build the Remaining Steps
Build the next brick riser directly onto the first tread, making sure it matches the height of the previous step. Check each riser carefully as you go to keep every step consistent. Measuring from your guide pegs will help ensure the finished staircase remains even from top to bottom.
Once the riser is complete, repeat the process by laying the next tread.
Step 7: Finish the Steps
Continue building each step until you reach the top of the slope. Regularly check that the front edges of the steps are straight by using a long spirit level or straightedge.
Once complete, tidy the surrounding area by banking soil against the sides for planting or laying grass to blend the steps naturally into your garden.
Top Tip
Take your time checking the level and height of every step as you build. Small inaccuracies can quickly add up, so regular checks will ensure your finished garden steps are safe, even and built to last.
Disclaimer: This guide is provided for general information purposes only. Buildland accepts no responsibility for any injury, loss or damage resulting from the use of this information. Always follow relevant manufacturer instructions, building regulations and health and safety guidelines. All work is carried out at your own risk.
Product Recommendations
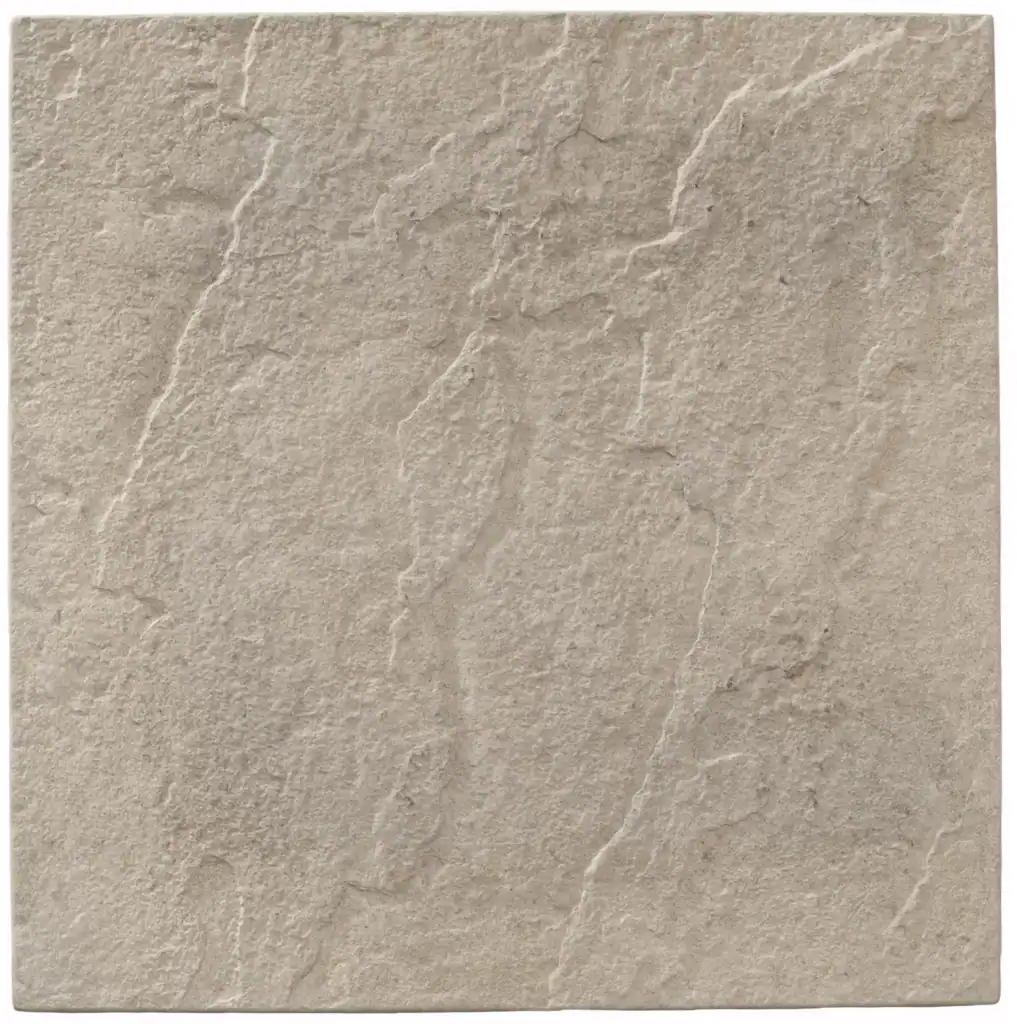
Premier Riven Slab Light Grey 450mm x 450mm
£2.95 ex. VAT
£3.54 inc. VAT
View ProductAdd To Basket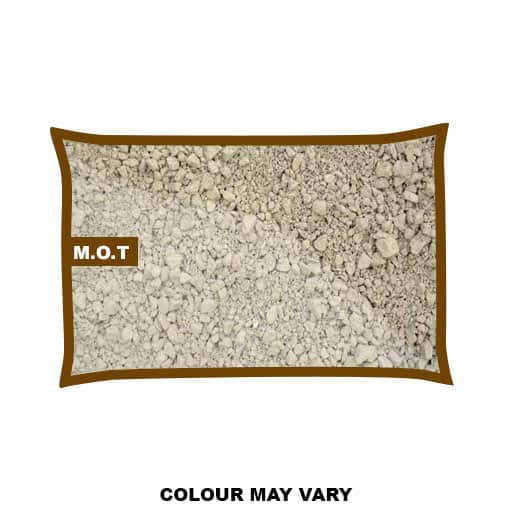
MOT Type 1 Poly Bag
£2.25 ex. VAT
£2.70 inc. VAT
View ProductAdd To Basket
Ox Pro 600mm Spirit Level
£35.63 ex. VAT
£42.76 inc. VAT
View ProductAdd To Basket
Coloured Mortar 25kg
£14.95 - 14.95 ex. VAT
£17.94 - £17.94 inc. VAT
View ProductAdd To Basket
Premier Riven Slab Light Grey 450mm x 450mm
£2.95 ex. VAT
£3.54 inc. VAT
View ProductAdd To BasketMOT Type 1 Poly Bag
£2.25 ex. VAT
£2.70 inc. VAT
View ProductAdd To BasketOx Pro 600mm Spirit Level
£35.63 ex. VAT
£42.76 inc. VAT
View ProductAdd To BasketColoured Mortar 25kg
£14.95 - £14.95 ex. VAT
£17.94 - £17.94 inc. VAT
View ProductAdd To Basket