
How To Lay Porcelain Paving
Porcelain paving is a stylish, durable and low-maintenance choice for patios and outdoor spaces. Correct preparation and installation are essential to achieve a professional finish that will stand the test of time. Follow our step-by-step guide below, and don’t forget to browse our recommended products at the end of this article to help you complete your project with confidence
Tools & Materials You’ll Need
- Porcelain spacer posts
- Porcelain levelling caps
- MOT Type 1 sub-base
- Jointing compound
- Mortar
- Slurry primer
- Porcelain sealer
- Sharp sand
- Cement
- Outdoor SBR bonding agent
- Spirit level
- Rubber mallet
- Disc cutter or water-fed tile saw
- Diamond blade suitable for porcelain
- Wooden battens
- Safety goggles
- Protective gloves
Step 1: Check Your Paving
Before you begin, inspect your porcelain paving slabs for colour and pattern variation.
Lay a selection of slabs from multiple packs or pallets on the ground to check you’re happy with the overall appearance before installation.
While working, always rest the slabs on wooden battens to help prevent edge chipping.
Top Tip: Always mix slabs from different pallets during installation to create a natural, blended finish.
Step 2: Prepare the Base
A solid foundation is essential for a long-lasting patio.
Install a well-compacted MOT Type 1 sub-base between 50mm and 100mm deep, ensuring it has a fall of approximately 1:60 to allow water to drain away from the property.
Take your time compacting the base thoroughly before moving on.
Step 3: Prime Each Slab
Before laying every slab, apply a slurry primer to the back of the porcelain.
You can either use a ready-made primer or make your own by mixing:
- Cement powder
- Water
- Outdoor SBR bonding agent
Mix to a smooth, creamy consistency.
Only prime each slab immediately before laying, ensuring the primer is still wet when it is placed onto the mortar bed. If any primer gets onto the face of the slab, wash it off immediately with clean water.
Step 4: Lay a Full Mortar Bed
Unlike some paving products, porcelain must always be laid on a full wet bed of mortar.
We recommend a mortar mix of approximately 4 parts sharp sand to 1 part cement, mixed to a firm, workable consistency rather than being overly wet.
A full mortar bed provides maximum support and helps prevent future movement or cracking.
Step 5: Lay the Porcelain Slabs
Carefully place each slab onto the mortar bed and gently tap it into position using a rubber mallet.
As you work:
- Mix slabs from different packs.
- Rotate slabs by 90° or 180° if repeating patterns become noticeable.
- Regularly check levels with a spirit level.
- Ensure every slab is fully supported by the mortar beneath.
Step 6: Cut the Slabs
Where cuts are required, use a water-fed bridge saw fitted with a diamond blade suitable for porcelain to achieve the cleanest finish.
A petrol disc cutter with a water-fed diamond blade can also be used if necessary.
Always wear appropriate PPE, including eye protection and gloves, when cutting porcelain
Step 7: Joint the Paving
Leave joints approximately 10–12mm wide between each slab.
Once the paving has been laid, fill the joints using a jointing compound specifically designed for porcelain paving.
Porcelain slabs should never be butt-jointed, as adequate spacing is required for correct installation and long-term performance.
Step 8: Clean the Finished Patio
Keeping the paving clean throughout installation is essential.
Once the jointing compound has fully cured, remove any remaining residue using a cleaner suitable for porcelain paving.
If your project also includes natural stone, make sure the cleaner you choose is acid-free, as acidic products can permanently damage natural stone.
Clean away any mortar or jointing residue as soon as possible to avoid staining.
Disclaimer: This guide is provided for general information purposes only. Buildland accepts no responsibility for any injury, loss or damage resulting from the use of this information. Always follow relevant manufacturer instructions, building regulations and health and safety guidelines. All work is carried out at your own risk.
Tile Recommendations
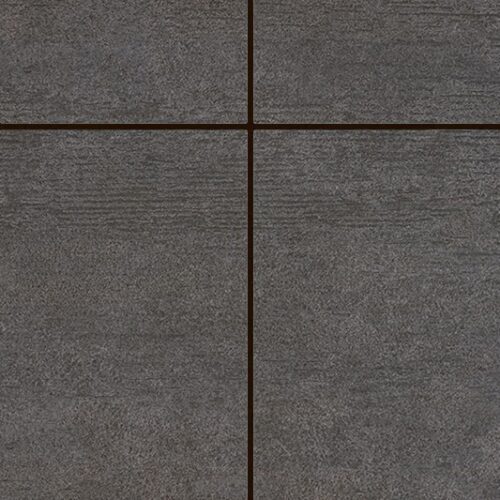
Woodford Tile Materia Antracite 900 x 600 x 20mm
£19.95 ex. VAT
£23.94 inc. VAT
View ProductAdd To Basket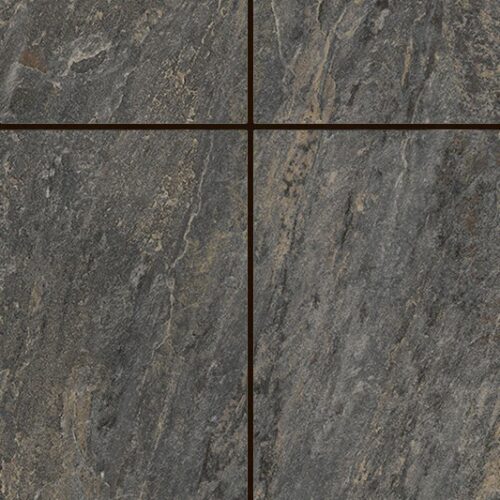
Woodford Tile Materia Oxide 900 x 600 x 20mm
£23.95 ex. VAT
£28.74 inc. VAT
View ProductAdd To Basket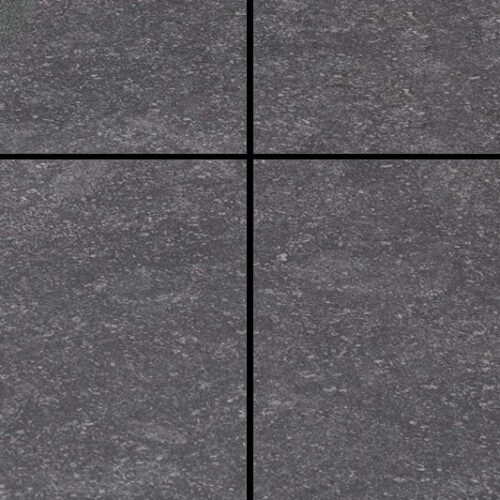
Gemini Raven Black 900 x 600 x 20mm
£17.95 ex. VAT
£21.54 inc. VAT
View ProductAdd To Basket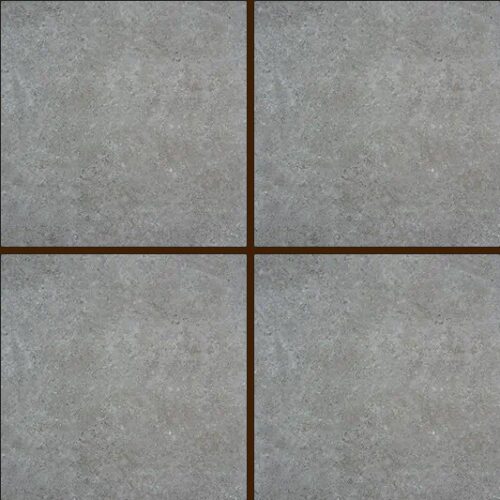
Gemini Tile Fossil 600 x 600 x 20mm
£10.65 ex. VAT
£12.78 inc. VAT
View ProductAdd To Basket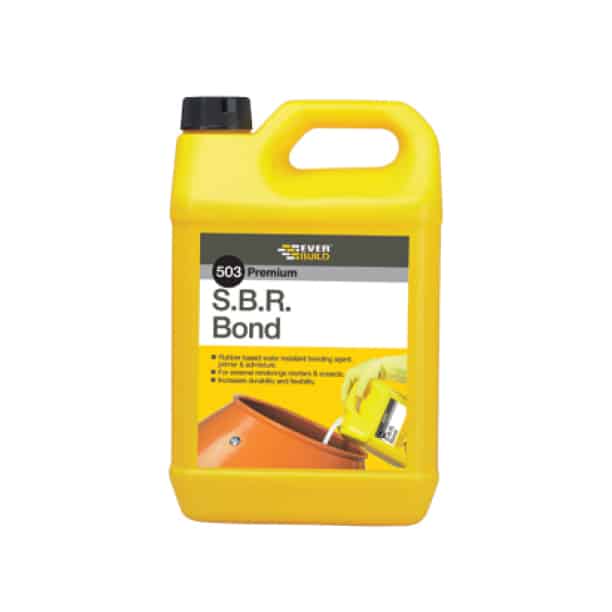
Everbuild Sbr Bond 5L
£22.63 ex. VAT
£27.16 inc. VAT
View ProductAdd To Basket
Woodford Tile Materia Antracite 900 x 600 x 20mm
£19.95 ex. VAT
£23.94 inc. VAT
View ProductAdd To BasketWoodford Tile Materia Oxide 900 x 600 x 20mm
£23.95 ex. VAT
£28.74 inc. VAT
View ProductAdd To BasketGemini Raven Black 900 x 600 x 20mm
£17.95 ex. VAT
£21.54 inc. VAT
View ProductAdd To BasketGemini Tile Fossil 600 x 600 x 20mm
£10.65 ex. VAT
£12.78 inc. VAT
View ProductAdd To BasketEverbuild Sbr Bond 5L
£22.63 ex. VAT
£27.16 inc. VAT
View ProductAdd To Basket
Preparation & Jointing Product Recommendations
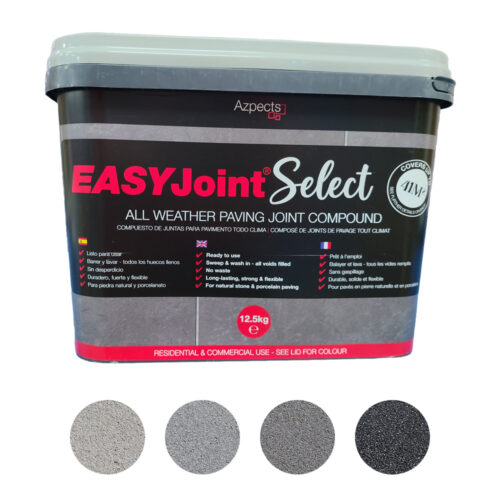
Easyjoint Select Jointing Compound 12.5Kg
£30.95 - 30.95 ex. VAT
£37.14 - £37.14 inc. VAT
View ProductAdd To Basket
Coloured Mortar 25kg
£14.95 - 14.95 ex. VAT
£17.94 - £17.94 inc. VAT
View ProductAdd To Basket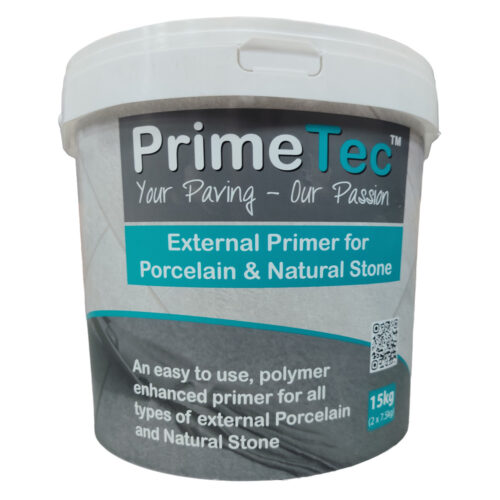
Prime Tec Primer 15Kg
£25.95 ex. VAT
£31.14 inc. VAT
View ProductAdd To Basket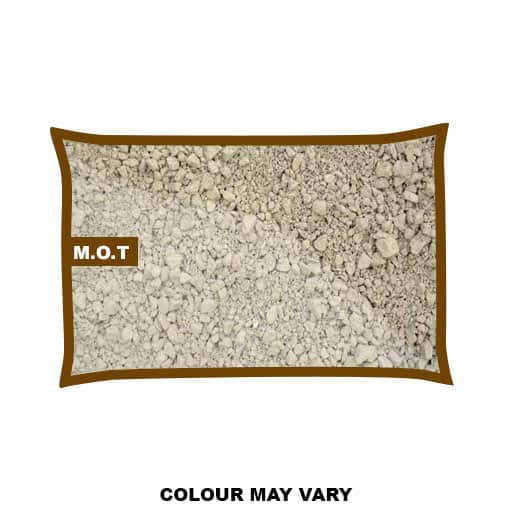
MOT Type 1 Poly Bag
£2.25 ex. VAT
£2.70 inc. VAT
View ProductAdd To Basket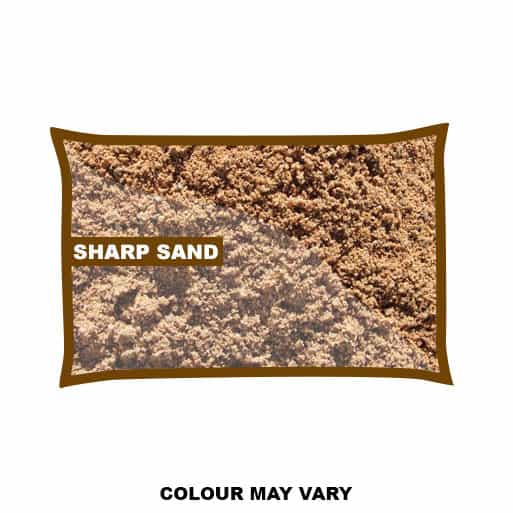
Sharp Sand Poly Bag
£2.25 ex. VAT
£2.70 inc. VAT
View ProductAdd To Basket
Easyjoint Select Jointing Compound 12.5Kg
£30.95 - £30.95 ex. VAT
£37.14 - £37.14 inc. VAT
View ProductAdd To BasketColoured Mortar 25kg
£14.95 - £14.95 ex. VAT
£17.94 - £17.94 inc. VAT
View ProductAdd To BasketPrime Tec Primer 15Kg
£25.95 ex. VAT
£31.14 inc. VAT
View ProductAdd To BasketMOT Type 1 Poly Bag
£2.25 ex. VAT
£2.70 inc. VAT
View ProductAdd To BasketSharp Sand Poly Bag
£2.25 ex. VAT
£2.70 inc. VAT
View ProductAdd To Basket
Tool Recommendations
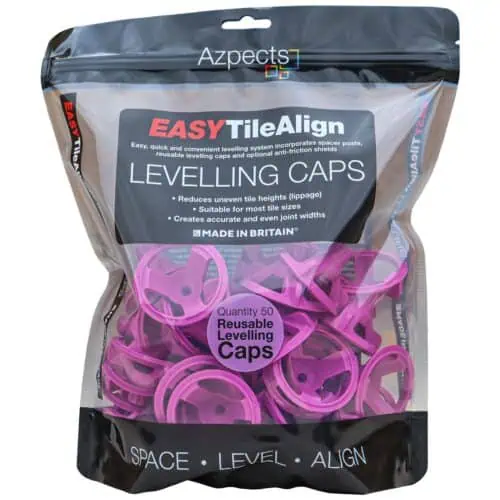
Azpects EasyTile Align Levelling Caps 50 Pack
£13.90 ex. VAT
£16.68 inc. VAT
View ProductAdd To Basket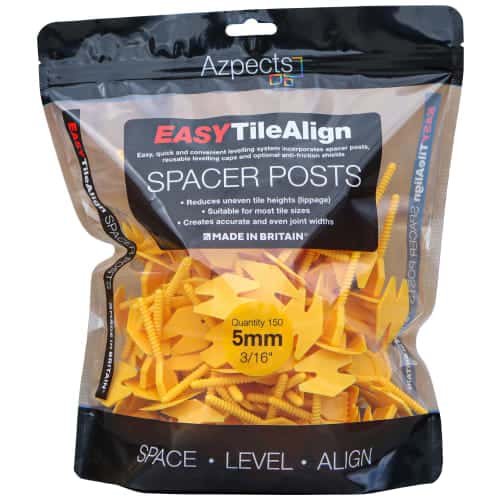
Azpects EasyTile Align Spacer Posts 5mm
£20.38 ex. VAT
£24.46 inc. VAT
View ProductAdd To Basket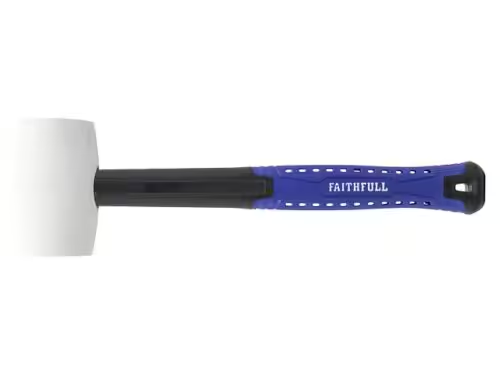
Faithfull Tools 32oz White Rubber Mallet
£7.50 ex. VAT
£9.00 inc. VAT
View ProductAdd To Basket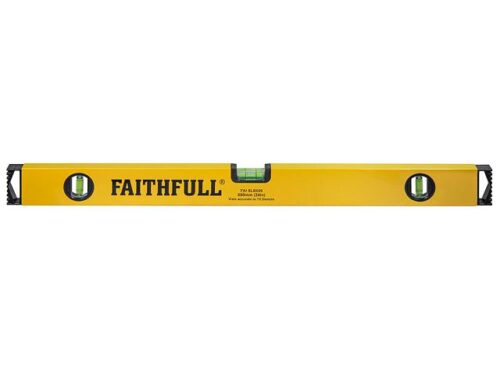
Faithful Tools Box Level 3 Vial 1200mm Spirit Level
£21.46 ex. VAT
£25.75 inc. VAT
View ProductAdd To Basket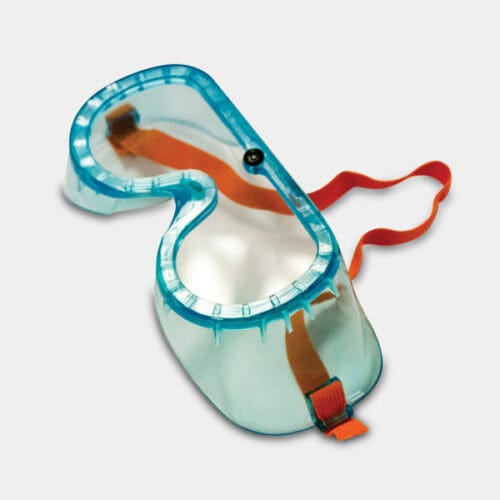
Vitrex Safety Goggles
£3.20 ex. VAT
£3.84 inc. VAT
View ProductAdd To Basket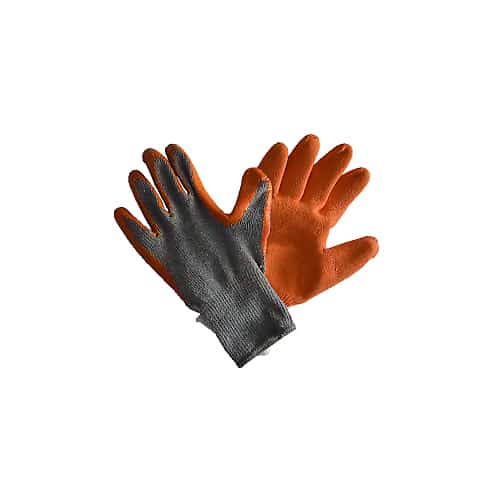
Pti Gloves (Grip) Each
£0.83 - 0.83 ex. VAT
£1.00 - £1.00 inc. VAT
View ProductAdd To Basket
Azpects EasyTile Align Levelling Caps 50 Pack
£13.90 ex. VAT
£16.68 inc. VAT
View ProductAdd To BasketAzpects EasyTile Align Spacer Posts 5mm
£20.38 ex. VAT
£24.46 inc. VAT
View ProductAdd To BasketFaithfull Tools 32oz White Rubber Mallet
£7.50 ex. VAT
£9.00 inc. VAT
View ProductAdd To BasketFaithful Tools Box Level 3 Vial 1200mm Spirit Level
£21.46 ex. VAT
£25.75 inc. VAT
View ProductAdd To BasketVitrex Safety Goggles
£3.20 ex. VAT
£3.84 inc. VAT
View ProductAdd To BasketPti Gloves (Grip) Each
£0.83 - £0.83 ex. VAT
£1.00 - £1.00 inc. VAT
View ProductAdd To Basket