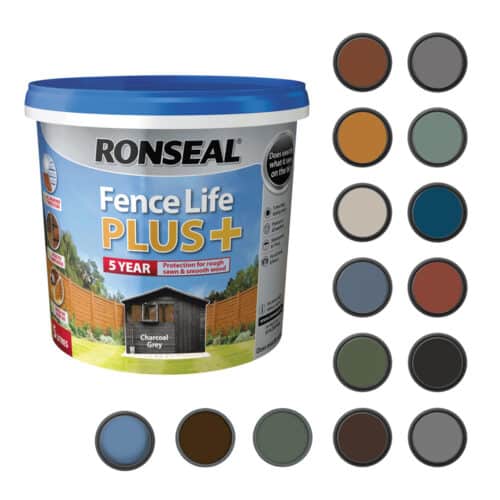
How To Paint A Garden Fence
Painting your fence is one of the easiest ways to refresh your garden while protecting the timber from weather, moisture and UV damage. With the right preparation and products, you can give your fence a durable finish that will keep it looking its best for years. Follow our step-by-step guide below, and don’t forget to browse our recommended products at the end of this article to help complete your project.
Tools & Materials You’ll Need
- Plant ties
- Garden canes
- Sandpaper
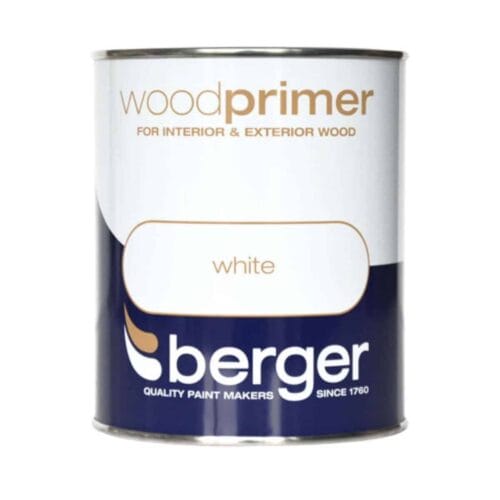
- Exterior wood primer
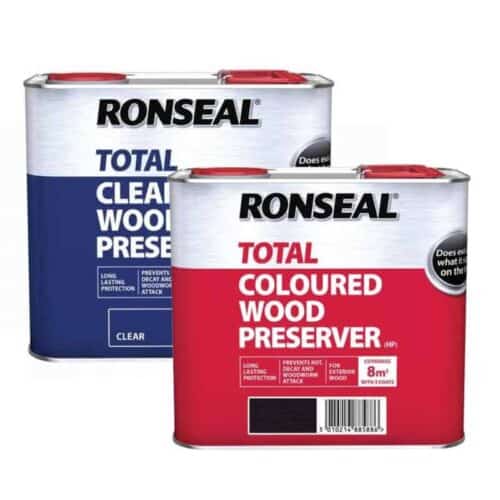
- Exterior wood preservative
- Exterior fence paint
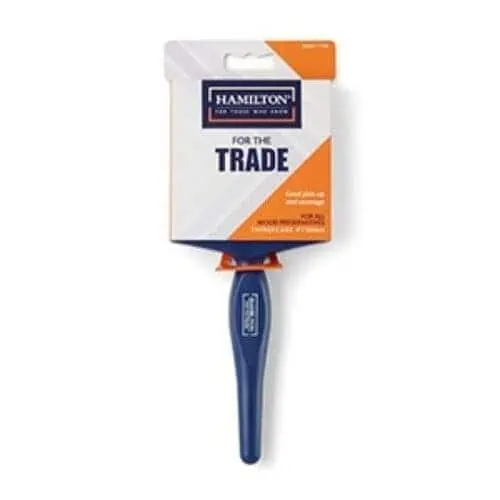
- Fence paint brush
- Paint sprayer (optional)
- White spirit (for oil-based paints)
- Plastic sheeting
- Fence cleaner
- Protective gloves
- Safety goggles
- Dust mask
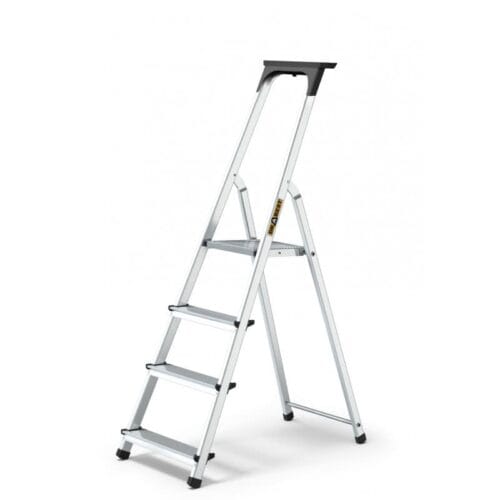
- Ladder
- Protective overalls or suit
Step 1: Protect Your Plants
Before you begin painting, protect any nearby plants, shrubs and garden features with plastic sheeting.
If necessary, trim back any overgrown foliage to give yourself enough space to work comfortably.
Step 2: Secure Nearby Plants
If plants can’t be moved or fully covered, gently tie them back using garden canes and plant ties.
This will help keep them clear of the fence while you paint and reduce the risk of accidental damage.
Step 3: Prepare the Fence
Good preparation is essential for a professional finish.
Before painting:
- Remove any hanging baskets, hooks or decorations.
- Pull out or hammer in any protruding nails or screws.
- Sand down rough areas, splinters and peeling paint.
- Clean the fence using a suitable fence cleaner and allow it to dry completely.
A clean, smooth surface helps the paint adhere properly and improves the final finish.
Step 4: Apply Primer
If your fence requires priming, apply an even coat of exterior wood primer.
Allow the primer to dry fully before applying your chosen fence paint.
Priming improves adhesion, creates a more even finish and helps extend the life of the paint.
Step 5: Paint the Fence
Using a large fence brush, apply the paint generously while working in the direction of the wood grain.
- Use horizontal strokes on horizontal boards.
- Use vertical strokes on vertical boards.
Start at the top of each panel and work downwards to catch any drips as you go.
Apply enough paint for good coverage, but avoid leaving heavy runs or drips.
For quicker application, you can use a suitable fence sprayer or paint spray gun.
Step 6: Check for Missed Areas
If you’re using a paint sprayer, inspect the fence carefully once complete.
Use a brush to paint any missed sections, especially around posts, edges and between overlapping boards.
Step 7: Apply a Second Coat (If Required)
Many modern fence paints provide excellent coverage in a single coat.
However, if required, apply a second coat once the first has completely dried, following the manufacturer’s recommended drying times.
Step 8: Remove Plant Protection
Once the paint has fully dried, carefully remove the plastic sheeting, garden ties and canes.
Avoid uncovering plants too early, as wet paint may transfer onto leaves and stems.
Step 9: Clean Your Tools
Clean brushes and painting equipment immediately after use.
If you’ve used an oil-based paint, clean brushes with white spirit to remove all paint residue and keep them in good condition for future projects.
Disclaimer: This guide is provided for general information purposes only. Buildland accepts no responsibility for any injury, loss or damage resulting from the use of this information. Always follow relevant manufacturer instructions, building regulations and health and safety guidelines. All work is carried out at your own risk.